You’re waving a nail polisher around, wondering why every salon looks six‑to‑eight times fancy instead of just your home kit. The secret is a nail curing lamp: the device that hardens polish, Fast and brilliant. If you’re stepping into this world for the first time, the choice can feel like a maze of switches, sizes, and prices.
Why Your Nails Need a Curing Lamp
In a beginner’s kit, the lamp is the linchpin. Traditional nail polish dries slowly and often ends up a sticky mess or a patchy look. A lamp completes a special polymerisation reaction that locks the colour into a hard, long‑lasting layer. The result is a gloss that stays firm for up to a week or more, without cracking or lifting. Without this step, the effort spent on picking the perfect shade is wasted.
A good lamp also keeps the hands tidy: no smudges on furniture, your cufflinks, or the back of your neck. For a professional or a hobbyist, the lantern stands out as the difference between a basic polish and salon‑grade polish.
Picking the Right Lamp: Size and Power
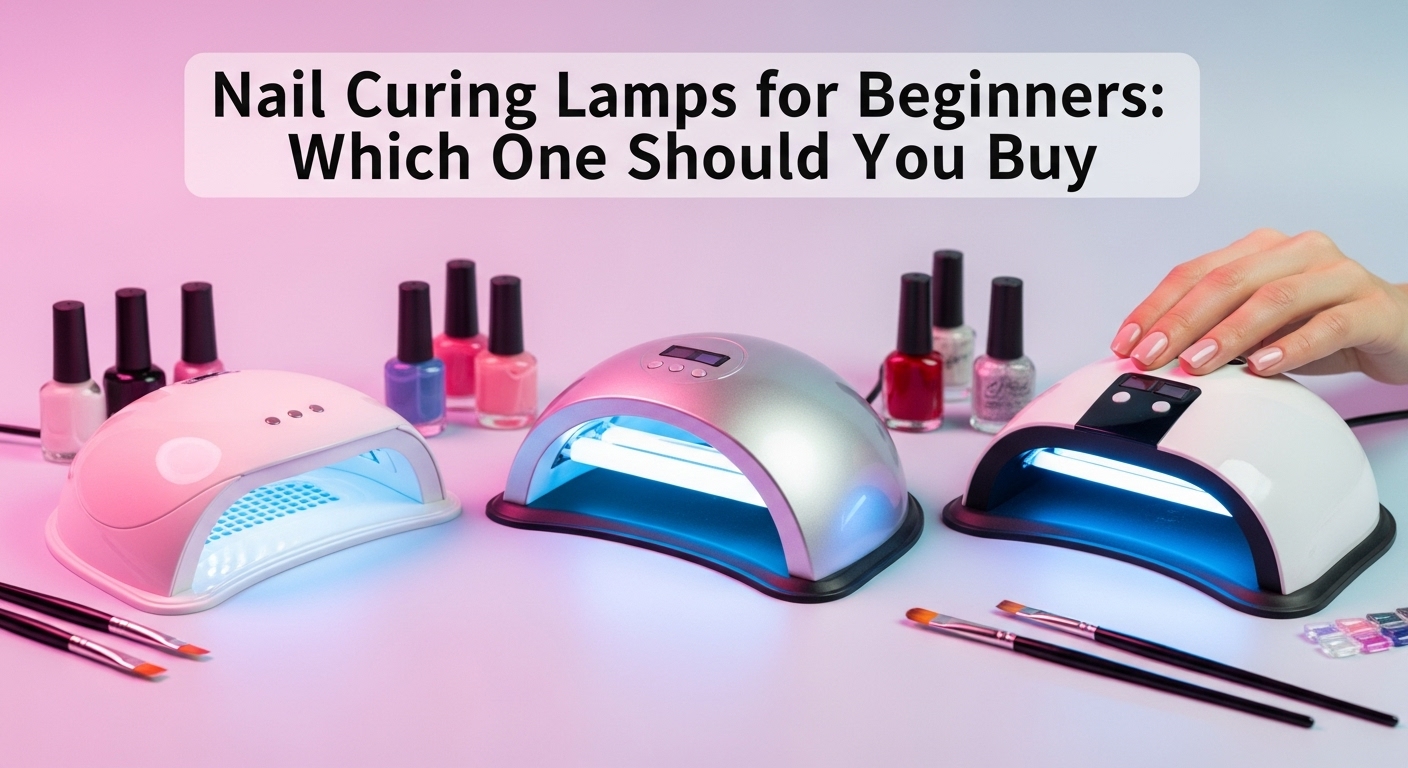
The first thing to notice is the lamp’s light source. Two common types are:
| Light type | Typical wattage | Heat | Typical price* |
|---|---|---|---|
| LED | 23‑17 W (0.3‑0.35 W cm‑2) | Low | R250‑R450 |
| UV‑B (old style) | 4‑10 W | Higher | R200‑R350 |
LED lamps are cooler and more energy‑efficient. They also work faster (usually 30‑60 seconds). UV‑B lamps, older but still popular, take a bit longer and burn a little hotter. For home use, most beginners gravitate to LED.
Next, look at the size. A 36 cm lamp is the most common countertop size. It fits well in home studios or small salon spaces. The lamps are usually glass plus an inner quartz tube that protects the bulbs. Bigger lamps mean more surface area and a quieter run, but they cost a bit more.
How to Match a Lamp to Your Budget
Below are three beginner‑friendly options that cover the spectrum from budget to mid‑range. All are brand‑checked and sold in South Africa.
SunRay 3‑LED Nail Lamp – R320
- 36 cm, 4 LEDs at 23 W total.
- 45‑second cure time.
- Built‑in timer and a safety lock for children.
- Perfect if you want a quick, affordable starter.
Urban Glow Compact – R440
- 36 cm, 2 LEDs at 23 W each.
- 60‑second cure.
- Comes with a detachable cord for charging batteries or plugging into the outlet.
- Slightly more space‑saving, good for mobile nail techs.
Polyluxe Pro‑LED – R670
- 36 cm, 4 LEDs at 23 W.
- 30‑second cure, one of the fastest on the market.
- Bluetooth remote control and a rechargeable battery (3‑day life).
- Ideal if you plan to travel or prefer a high‑speed routine.
All three give a peak intensity sufficient for most nail polishes and gel formulas popular in South Africa.
Safety First: Protect Yourself and Your Hands
Even though LEDs are cooler, an eye‑protective mask is a good habit when the lamp is on, especially if you are using it for long periods. Avoid touching the light source directly. Once the lamp has finished, let the nails cool for a few minutes before removing wax caps or adhesives.
Use a sterilised pen or disposable printer to blow away debris; the lamp’s thin quartz wall is very smooth, so a simple tap on a clean cotton pad should work.
Packing Up Your Kit
A good starter kit includes:
- Nail file & buffer (6‑piece set).
- Nail cleaner (acetone or polish cleaner).
- Buffering block & pad.
- Edge nipper.
- Nail polish of choice.
- Makeup remover wipes.
The lamp sits on the counter, while the rest fits in a small storage box or tote.
Putting It Into Practice
- Push a clean edge file onto the nail, keeping the cuticle healthy.
- Shape the nail with buffer, then wipe away dust.
- Apply a base coat and let it dry for a few minutes.
- Layer two thin coats of colour, each time letting dry before the next.
- Finish with a top coat.
- Slide the nail into the lamp, lock, and set the timer.
- Wait until the lamp stops blinking, then let the nail cool.
Check the finish for any missed spots or uneven layers and repeat a second layer if needed.
How This Helps You Save Money
Using the lamp at home means you can test different shades without buying a huge supply of each. Your nail health improves because you’re brushing away fillers or lifting polish. Over time, you’ll reduce unnecessary purchases, saving you a handful of Rand.
Final Thoughts
A nail curing lamp isn’t just an expensive gadget—it’s a simple tool that turns an ordinary polish into a professional‑grade finish. With one of the options above, a beginner can set up a reliable base for every upcoming manicure. Pick a lamp that fits your budget, stays. safe, and lets you experiment, because your nails deserve a steady, bright layer that lasts.
*(All prices are approximate and can vary with store or online retailer. Check local shops for the most accurate rates.)