Want fresh, trendy nails without going to a salon? Nail stickers let you design like a pro, right from home. They’re cheap, easy to use, and give the same look as custom nail art. In this guide you’ll learn what stickers are, how to pick the best ones, how to apply them step‑by‑step, and how to care for your nails in South Africa’s sunny or rainy weather.
What Are Nail Stickers?
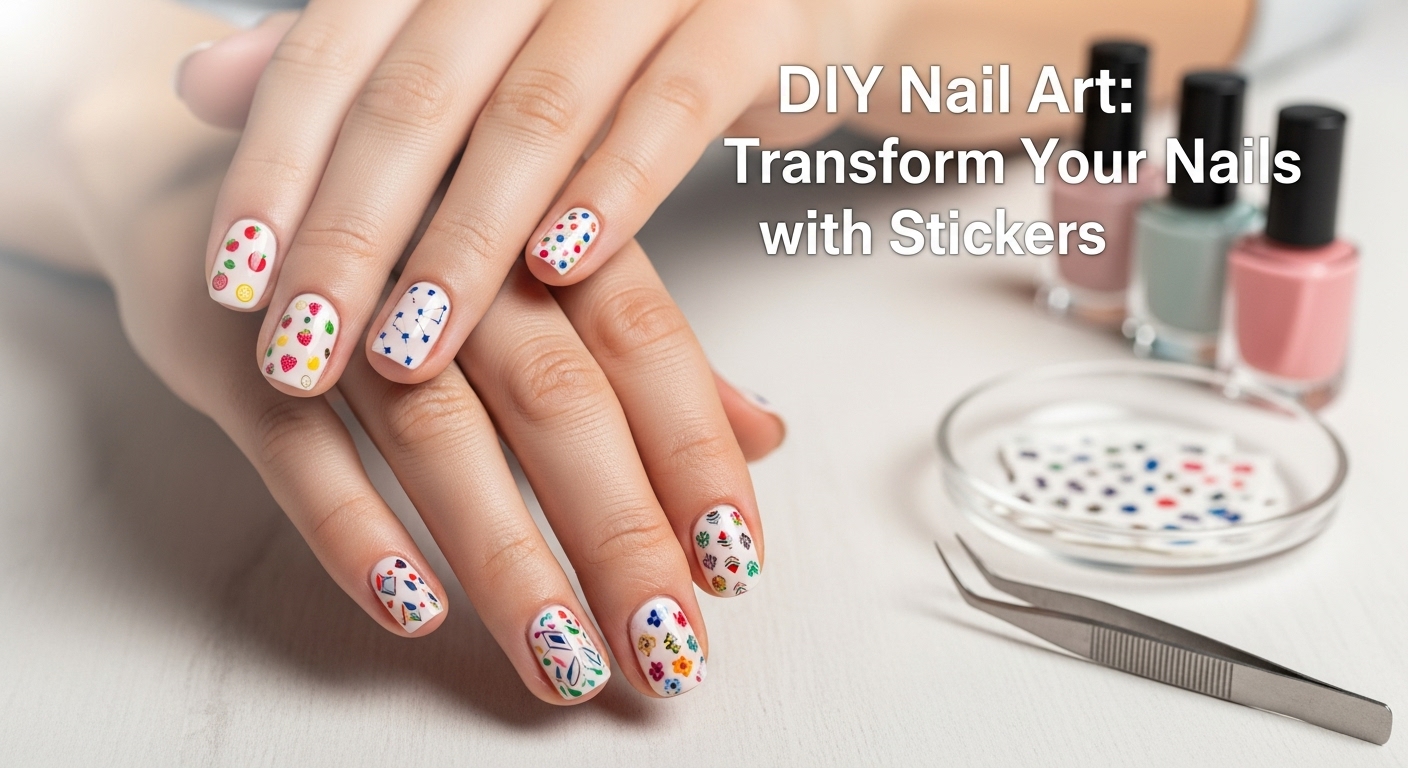
Nail stickers are pre‑printed shapes, patterns, or designs that stick to your nail surface. They come in a variety of colors, themes (floral, geometric, glitter, animal print), and sizes. Think of them as “stick‑on” nail polish that you can peel off or keep on as a base for a top coat.
- Made of: Clear, flexible film that sits on top of your natural nail.
- Layering: Stickers are usually placed under a thin coat of clear top‑coat to lock the design in place.
- Reusable: High‑quality stickers can be re‑used once cleaned, though most are meant for single use.
Why Use Stickers Instead of Polish?
| Feature | Nail Stickers | Powder/Gloss Nail Polish |
|---|---|---|
| Time Needed | 5‑10 min | 20‑30 min (drying each layer) |
| Skill Level | Beginner | Moderate to advanced |
| Pattern Variety | Unlimited, ready‑made | Depends on paint skill |
| Cost (per set) | R50‑R150 | R60‑R200 for a full kit |
| Damage Risk | Minimal | Polish can break nails if over‑used |
For busy mornings or fun parties, stickers give instant results with very little fuss.
Where to Find Good Stickers in South Africa
- E‑commerce platforms
- Takealot.com and Loot.co.za offer lots of brands, read reviews, and get home delivery.
- Beauty stores
- Insta Mart and Vogue carry sticker kits in their nail sections.
- Local makers
- Look for “hand‑made” sticker bundles on Zando or local art shops in Cape Town, Johannesburg, Durban, and other cities.
Always check the SKU for “full‑sized” stickers (fits a 10‑mm nail) and look for a clear, flexible film.
How to Pick the Right Sticker Set
- Size & Shape
- Stickers come in 5 mm, 7 mm, 9 mm, and 12 mm (full length). Choose the one that matches your nail width.
- Color Palette
- Pick something that matches your wardrobe or occasion.
- For versatile options, choose neutral or pastel collections.
- Quality of Adhesion
- Slide a finger under the sticker. It should stick firmly but not tear.
- Top‑coat Compatibility
- Test a small area with a clear top‑coat to ensure no bubbling.
Step‑by‑Step How to Apply Nail Stickers
1. Prep the Nail
- Wash your hands and dry them thoroughly.
- Push back cuticles with a cuticle stick or orange stick.
- File the nail surface to smooth edges (top‑side of the nail).
- Buff lightly with a fine polishing block.
2. Clean with Alcohol
- Dip a cotton swab in rubbing alcohol (isopropyl).
- Wipe the nail and the surface where the sticker will sit.
- Let it dry – no streaks.
3. Peel Off the Sticker
- Hold the sticker with one hand. Peel side‑to‑side (not up‑and‑down) to keep the backing paper intact.
4. Apply the Sticker
- Place the sticker center‑wise on the nail.
- Press firmly, then gently push down along the middle and edge, removing bubbles.
- If the sticker has a small air bubble, tap the edge lightly with a toothpick or tweezers.
5. Seal with a Clear Top‑Coat
- Apply 2‑3 light coats of clear nail polish.
- Give each coat a minute to dry before applying the next.
- Wait 5 minutes total before moving hands; the finish holds for 3‑5 days.
6. Set the Nail
- For extra durability, apply a quick‑dry powder fix‑up or a clear coat with a spray bottle.
How to Remove Stickers Safely
- Wash Hands – Remove any polish with acetone or non‑acetone remover.
- Soak Briefly – If the sticker is tough, soak the finger in warm water for 5 minutes while wearing gloves.
- Peel Off – Gently lift from the corner and pull slowly.
- Refresh – Clean the nail surface with alcohol and start again if you’re reusing stickers.
Caring for Your Nail Stickers in South Africa
- Sun Exposure – UV rays may fade a sticker. Use a clear UV‑protect top‑coat and avoid direct sun for long periods.
- Humidity – High humidity can loosen the sticker. Store nail kits in a dry place.
- Water Activities – Wear gloves for longer cooking, dishwashing, or swimming sessions to keep stickers intact.
- Cleaning – Use a soft brush to avoid scratching the film.
Tips for Customising Stickers
- Layering – Put two stickers side by side for a striped look.
- Adding Glitter – Sprinkle a pinch of fine glitter on the clear top‑coat for sparkle.
- Using Nail Art Pens – Draw small accents (a dot, a line, or a star) over the sticker for a personal touch.
Frequently Asked Questions
Stickers are meant for the nail plate. Avoid applying them over cuticles.
With proper prep and removal, nail stickers are gentle. Remove with a mild polish remover.
Typically 3‑5 days when sealed with clear top‑coat. Can last longer if cleaned properly.
Some high‑quality sets are reusable. Clean carefully and reapply with oil or clear polish.
Neutral shades (champagne, pale pink, or light blue) look smart and versatile.
Bottom Line
Nail stickers give you an instant makeover. By following the simple steps above you can create stunning nail art that lasts for days, fits any South African climate, and fits easily into a busy schedule. Grab your favourite set, try the steps, and watch your nails transform—no salon needed!