Getting salon-quality nail art at home or in your salon just got easier with a nail printer. This clever little machine prints designs straight onto your nails in minutes, giving you perfect patterns every single time. Whether you’re a nail tech wanting to speed up your work or someone who loves doing their own nails, learning how to use a nail printer properly will save you time and give you amazing results that look like a pro did them.
What Exactly is a Nail Printer?
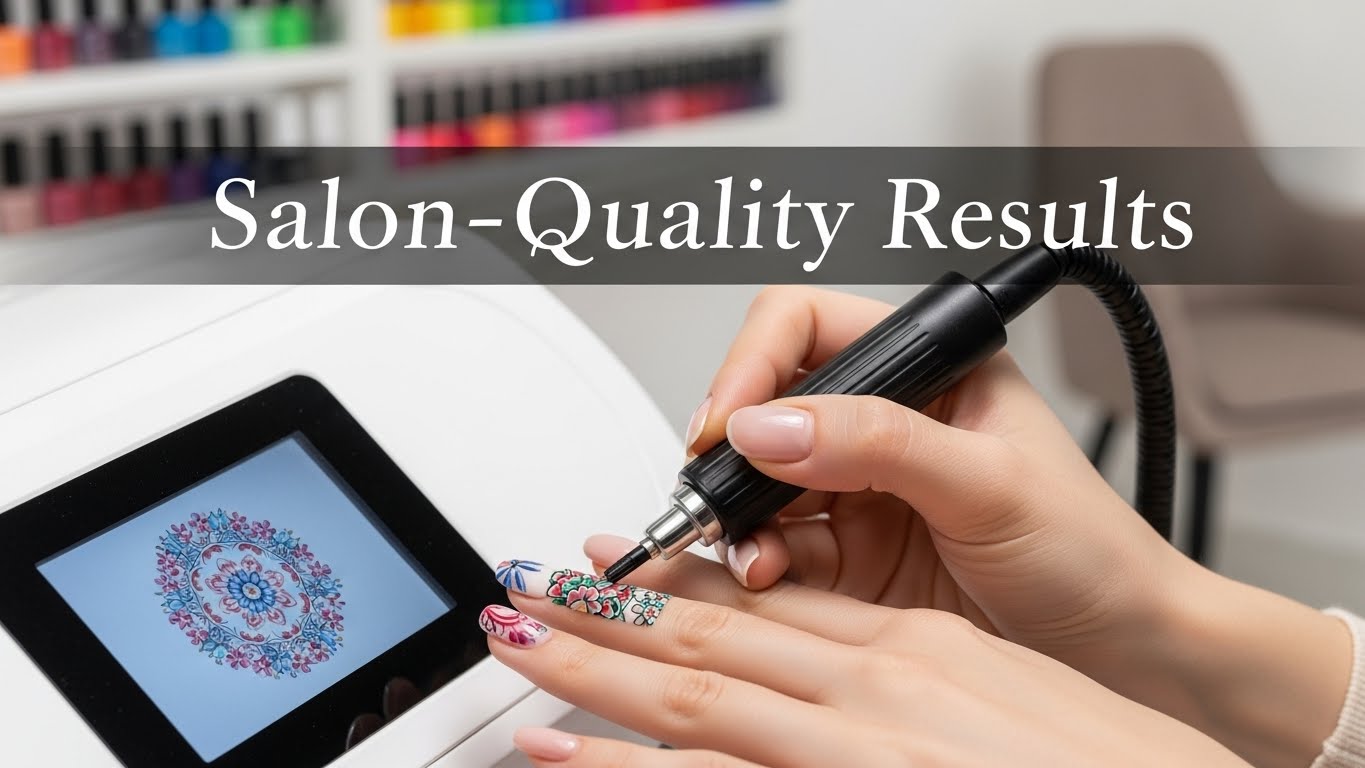
A nail printer is a small device that works a bit like the printer you’d use for paper, but it’s made just for nails. You pick a design on a screen or app, pop your finger into the machine, and it prints the picture right onto your nail. The whole thing takes about 30 seconds per nail.
These machines have become quite popular in South African salons over the past few years. They’re great for busy salons in places like Sandton, Cape Town, and Durban where clients want fancy nail art but don’t have hours to wait.
Getting Your Nails Ready Before Printing
Before you even switch on the nail printer, your nails need to be properly prepared. This step is super important because if you skip it, the design won’t stick properly and will chip off quickly.
Here’s what you need to do:
- Start by shaping your nails with a file. You can go square, round, or almond-shaped – whatever you like best. Just make sure all your nails are roughly the same shape and length.
- Next, push back your cuticles gently. Don’t cut them – just push them back with a cuticle pusher. This gives the printer more space to work with.
- Buff the top of your nails lightly. This removes the shiny layer and helps the ink stick better. Don’t go too hard though – just a few gentle strokes.
- Clean your nails with some rubbing alcohol or nail cleanser. This gets rid of any oils or dirt that might be hiding on your nails. Let them dry completely before moving on.
- Apply a thin base coat if your nail printer brand recommends it. Some machines need this, while others print directly onto bare nails. Always check your machine’s instructions.
Step-by-Step Guide to Using Your Nail Printer
Now for the fun part! Here’s how to actually use the machine:
Step 1: Turn on the machine and connect it
Most nail printers connect to an app on your phone or tablet. Download the app, create an account, and link it to your printer. Make sure your Bluetooth or WiFi is on.
Step 2: Pick your design
Browse through the design library in the app. You’ll find hundreds of options – from simple French tips to wild leopard prints to beautiful protea flowers that show off some South African flair. You can also upload your own pictures if you want something custom.
Step 3: Take a photo of your nail
The app will ask you to take a picture of your nail. This helps the machine know exactly where to print. Hold your finger steady and make sure the lighting is good. The app will outline your nail automatically.
Step 4: Adjust the design
Move the design around on the screen until it sits exactly where you want it on your nail. You can make it bigger, smaller, or rotate it. Take your time here – this is what makes the difference between okay results and amazing results.
Step 5: Place your finger in the printer
Open the nail printer lid and put your finger on the finger rest. Keep your hand super still. Wiggling will mess up the print.
Step 6: Print
Press the print button and wait. The machine will do its thing. You’ll hear a little whirring sound as it prints. Don’t move until it tells you it’s done.
Step 7: Let it dry
Take your finger out carefully and let the design dry for about 30 seconds to a minute. Don’t touch anything yet!
Step 8: Apply top coat
Once dry, paint on a clear top coat to seal in the design. This protects the print and makes it last longer. Use a good quality top coat – this isn’t the place to save money.
Tips for Getting the Best Results
After using nail printers for a while, you pick up some tricks that make a real difference. Here are some that actually work:
- Keep your ink cartridges in a cool, dry place. South African summers can get really hot, and heat can mess up the ink quality. Don’t leave your printer in your car or near a window.
- Clean the printer head regularly. Use the cleaning kit that comes with your machine. If you don’t have one, a little rubbing alcohol on a cotton bud works well. Do this every few weeks or whenever prints start looking faded.
- Practice on nail tips first. If you’re new to this, buy some fake nail tips from a beauty supply store (you can find them at shops in most malls or order online from local suppliers). Practice on those until you get the hang of it.
- Make sure your nails are completely flat when printing. If you have very curved nails, the design might come out stretched or distorted. Some printers handle curved nails better than others, so check reviews before buying.
- Good lighting matters when taking the nail photo. Natural light works best. If you’re in a salon, make sure your nail stations have proper lighting.
Common Mistakes to Avoid
- Even pros make mistakes sometimes. Here are the ones to watch out for:
- Moving your finger too soon is the biggest problem. Wait until the machine actually tells you it’s finished. Jumping the gun will smear your design.
- Using too much base coat can also cause issues. If there’s pooling around your cuticles or nail edges, the print won’t stick properly. Thin layers are the way to go.
- Forgetting to update your app can cause glitches. Check for updates regularly to keep everything running smoothly.
- Printing on wet nails is a no-no. Your nails must be completely dry – from washing your hands, from the base coat, from everything. Wet nails equal ruined prints.
How Long Do Nail Printer Designs Last?
With proper application and a good top coat, nail printer designs can last anywhere from one to two weeks. This is similar to regular nail polish. If you use gel top coat and cure it under a UV or LED lamp, you might get even longer wear.
The prints tend to fade or chip faster if you do lots of work with your hands, use harsh cleaning products without gloves, or skip the top coat. In South Africa’s sunny climate, too much sun exposure can also fade prints over time, especially on lighter colours.
Which Nail Printer Should You Buy?
- There are quite a few nail printers on the market now. Prices range from about R3,000 for basic home models to R30,000 or more for professional salon machines.
- For home use, look for something user-friendly with a good app and decent design library. You don’t need all the fancy features.
- For salon use, invest in a machine that prints quickly, handles multiple clients per day, and has a wide range of designs. Speed matters when you’ve got clients waiting.
- Before buying, check if the brand ships to South Africa easily and if you can get replacement ink cartridges locally. There’s nothing worse than running out of ink and waiting weeks for shipping from overseas.
Can You Make Money With a Nail Printer?
Absolutely! Many nail techs in South Africa are adding nail printing as a service. Clients love it because they can get detailed designs that would normally take an hour in just a few minutes.
You can charge anywhere from R50 to R200 per nail for printed designs, depending on your area and the complexity of the art. Some salons charge a flat rate for a full set.
It’s also a great way to stand out from other salons. Not everyone has this technology yet, so offering it gives you an edge.
Troubleshooting Common Problems
- Sometimes things go wrong. Here’s how to fix the most common issues:
- If your prints are coming out blurry, clean the printer head and check your ink levels. Low ink often causes fuzzy prints.
- If the design isn’t lining up with your nail, retake the photo in better lighting. The app needs to see your nail edges clearly to position the design right.
- If prints are peeling off quickly, you probably skipped or rushed the prep stage. Go back to basics – buff, clean, dry, then print.
- If your app keeps crashing, try closing other apps on your phone and restarting both your phone and the printer.
Caring for Your Nail Printer
- Looking after your machine means it will work properly for years. Keep it covered when you’re not using it to stop dust getting inside. Store it flat – don’t stand it up or lay it on its side.
- Only use ink cartridges made for your specific machine. Cheap knock-offs might save money now but can damage the printer and give you poor quality prints.
- If something goes wrong that you can’t fix, contact the supplier rather than trying to take it apart yourself. Most machines have a warranty that you don’t want to void.
Final Bits of Advice
Using a nail printer isn’t hard, but it does take a bit of practice to get really good at it. Don’t get discouraged if your first few attempts aren’t perfect. Keep at it, follow the steps properly, and you’ll be printing like a pro before you know it.
Whether you’re doing your own nails at home in Pretoria or running a busy salon in Johannesburg, a nail printer can change the way you do nail art. It’s fast, it’s fun, and the results speak for themselves.
Start with simple designs and work your way up to more complicated patterns. Before long, your nails (or your clients’ nails) will look like they belong in a magazine.