I still remember the night I sat on my bed, trying not to cry, pulling at my acrylic nails like a crazy person. The salon was closed, payday was far, and one nail had already lifted. I thought, “How hard can it be to take these off myself?”
Two minutes later, my real nail was burning, my acrylic was half off, and I was thinking, “Okay, this was dumb.”
If you’ve ever sat there picking and pulling at your nails, you’re in the right place. In this post on How To Remove Acrylic Nails At Home: 5 Mistakes No One Tells You, I want to talk to you like a friend and show you what really happens when we get it wrong – and how to do it right.
The Short Version: How I Safely Remove Acrylic Nails At Home
Let me start with what you actually want to know: how to remove acrylic nails at home without wrecking your real nails.
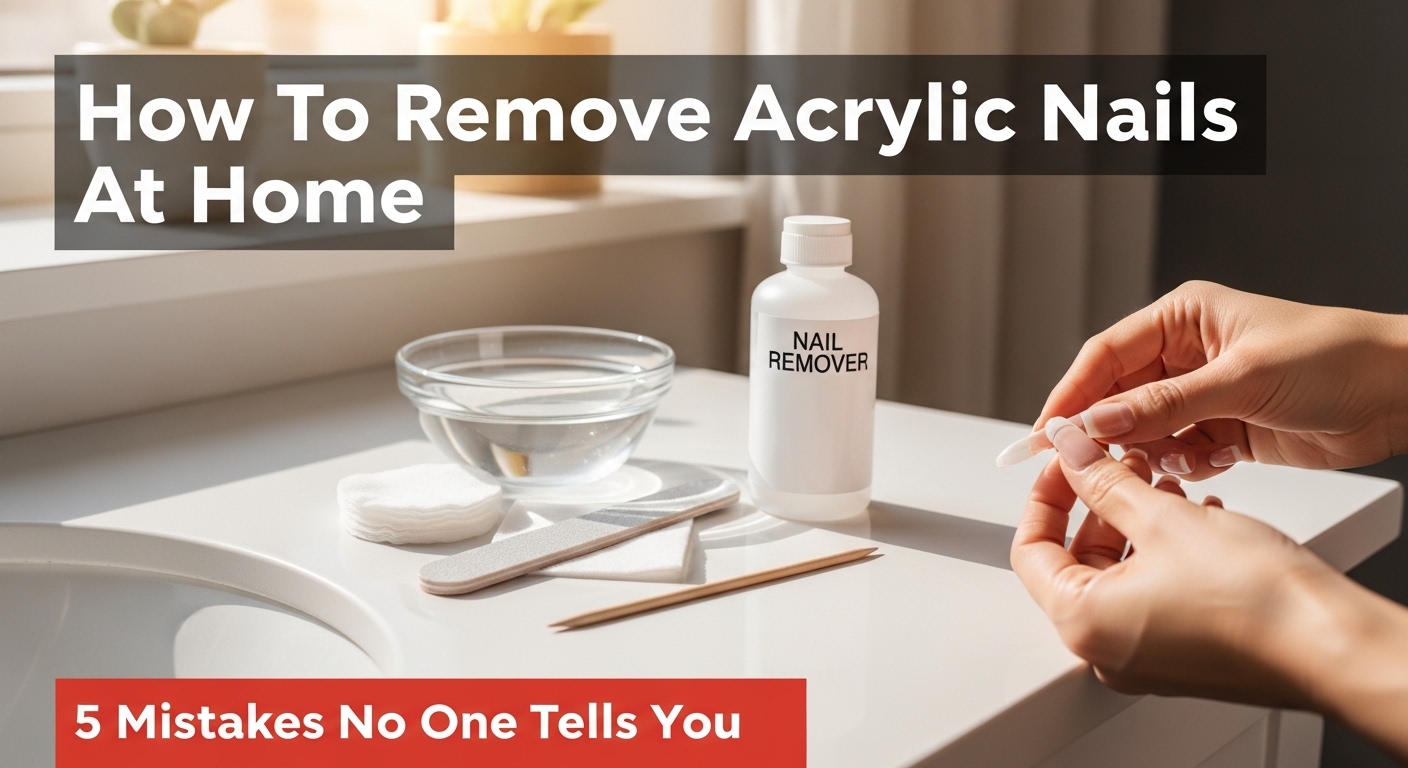
Here’s the basic safe method I use now:
- Trim the acrylics shorter.
- File off the shiny top coat.
- Protect the skin around your nails with Vaseline or cuticle oil.
- Soak cotton in pure acetone, place it on each nail.
- Wrap in foil to keep the cotton in place and the heat in.
- Wait 20–30 minutes, then gently scrape the soft acrylic with a cuticle stick.
- Repeat soak if needed instead of forcing anything off.
- Buff very lightly, wash hands, and load up on cuticle oil and cream.
That’s the safe way. But where most of us mess up is not the steps themselves. It’s the sneaky mistakes in between.
And that’s what How To Remove Acrylic Nails At Home: 5 Mistakes No One Tells You is really about.
Why I Had To Learn How To Remove Acrylic Nails At Home: 5 Mistakes No One Tells You
I didn’t wake up one day as some nail guru. I learned this because I ruined my own nails. More than once.
During lockdown in South Africa, every salon near me was closed. My set had grown out so far it looked like I had two nail beds. I searched “How To Remove Acrylic Nails At Home: 5 Mistakes No One Tells You” and saw so many hacks:
- Dental floss under the nail
- Sliding a card under the acrylic
- Prying with a sharp tool
- Soaking in random things that were not acetone
I tried a bit of everything. My nails became thin, sore, and bendy. I hated how they looked.
So I had to start from zero and learn how to remove acrylic nails at home properly. Now I want to save you from the same drama.
Let’s go through the 5 big mistakes no one warns you about.
Mistake 1: Peeling or Prying Them Off
You know when a corner lifts and it feels so tempting to just… peel? I get it. It’s almost satisfying. But it’s one of the worst things you can do.
When you peel off acrylics, you’re not just taking the fake nail. You’re also ripping off thin layers of your real nail plate. That’s why your nails feel:
- Rough
- Tender
- Super thin
- Sensitive to hot water
What to do instead:
- If one corner lifts, don’t pull it more.
- Clip it shorter if you can.
- File the edge smooth so it doesn’t catch.
- Then do a proper soak-off with acetone for all your nails, not just that one.
Think of it like this: if it doesn’t slide off gently, it’s not ready to come off yet.
Mistake 2: Skipping The File Before You Soak
I used to dip my fingers straight into acetone and then complain that it took “forever”. The truth is, I was the problem.
Acrylic nails often have:
- A shiny top coat
- Gel polish
- Sometimes even nail art layers
If you don’t file that shine off first, the acetone has to fight through it. It takes longer, and you get impatient, and then you start picking.
What I do now:
- Use a coarse nail file.
- Gently file the top of each nail until it’s no longer super shiny.
- Don’t file your real nail, just the acrylic and top coat.
This simple step makes your DIY acrylic nail removal much faster and less painful.
Mistake 3: Using Acetone Wrong (Or Not At All)
I know some people hate acetone. It smells strong. It can dry your skin. But when it comes to how to take off acrylic nails safely, pure acetone is still the best way.
These are the common mistakes with acetone:
- Using nail polish remover with no or low acetone
- Those are made to remove polish, not full acrylic.
- Not protecting the skin
- Acetone dries your cuticles, so you need Vaseline or cuticle oil.
- Just dipping fingertips in a bowl for hours
- Your skin soaks more than your nails, and you get dry, white fingers.
What works better for me:
- I soak small cotton pieces in pure acetone.
- I put them on each nail.
- I wrap with foil to keep them in place and trap warmth.
- I wait 20–30 minutes, then check.
If the acrylic still feels hard? I don’t fight it. I put fresh cotton with acetone and wrap again. It’s slower, but my natural nails thank me later.
Mistake 4: Going Wild With The File Afterward
Once the acrylic is off, our nails often look rough and a bit uneven. The first time I did a home nail removal, I grabbed my file and went crazy.
Result: my nails were even thinner and more damaged.
After a soak-off acrylic session, your nails are already a bit soft. If you file too hard, you remove healthy nail layers.
Here’s what I do now instead:
- Use a very gentle buffer, not a harsh file.
- Do soft, light strokes just to smooth the surface.
- Stop as soon as things feel even – not shiny, not super thin.
- Wash hands, then load up on:
- Cuticle oil
- Hand cream
- Even a nail strengthener if you have one
Remember, the goal is to protect your natural nails, not make them look perfect in one day.
Mistake 5: Rushing The Whole Process
This one was my biggest issue. I wanted my acrylics off now. I didn’t plan time. I thought it would be a quick 5-minute job. So I rushed.
Rushing leads to:
- Pulling instead of soaking
- Using random tools (like a butter knife or a card)
- Only half removing the acrylic and “living with it”
- Skipping aftercare because you’re tired
When I talk about How To Remove Acrylic Nails At Home: 5 Mistakes No One Tells You, this is the one that catches most people: we treat it like a small task, when it actually needs care.
Next time, try this:
- Set aside at least an hour.
- Get everything ready first:
- Acetone
- Cotton
- Foil
- File
- Cuticle stick
- Oil and cream
- Put on a series, podcast, or music.
- Tell yourself, “Slow is better than sorry.”
When you go slowly, you don’t feel the urge to rip and tear. You let the product do the work.
Putting It All Together
So, if I sum up How To Remove Acrylic Nails At Home: 5 Mistakes No One Tells You, it really comes down to this:
- Don’t peel or pry – ever.
- File the top coat before you soak.
- Use pure acetone the right way, with cotton and foil.
- Be gentle with filing after the acrylic is gone.
- Give yourself enough time, and don’t rush the process.
I learned all of this the hard way, sitting on my bed with half-broken nails and a sore thumb. You don’t have to do that to yourself.
Now you know How To Remove Acrylic Nails At Home: 5 Mistakes No One Tells You is really about protecting your real nails, being patient, and using the right tools.
If you’ve already made some of these mistakes (like I did), don’t beat yourself up. Start fresh with your next removal.
Want help planning a step-by-step routine you can save to your phone for next time? Tell me how you usually take your acrylics off, and I can help you turn it into a safer, easier plan.