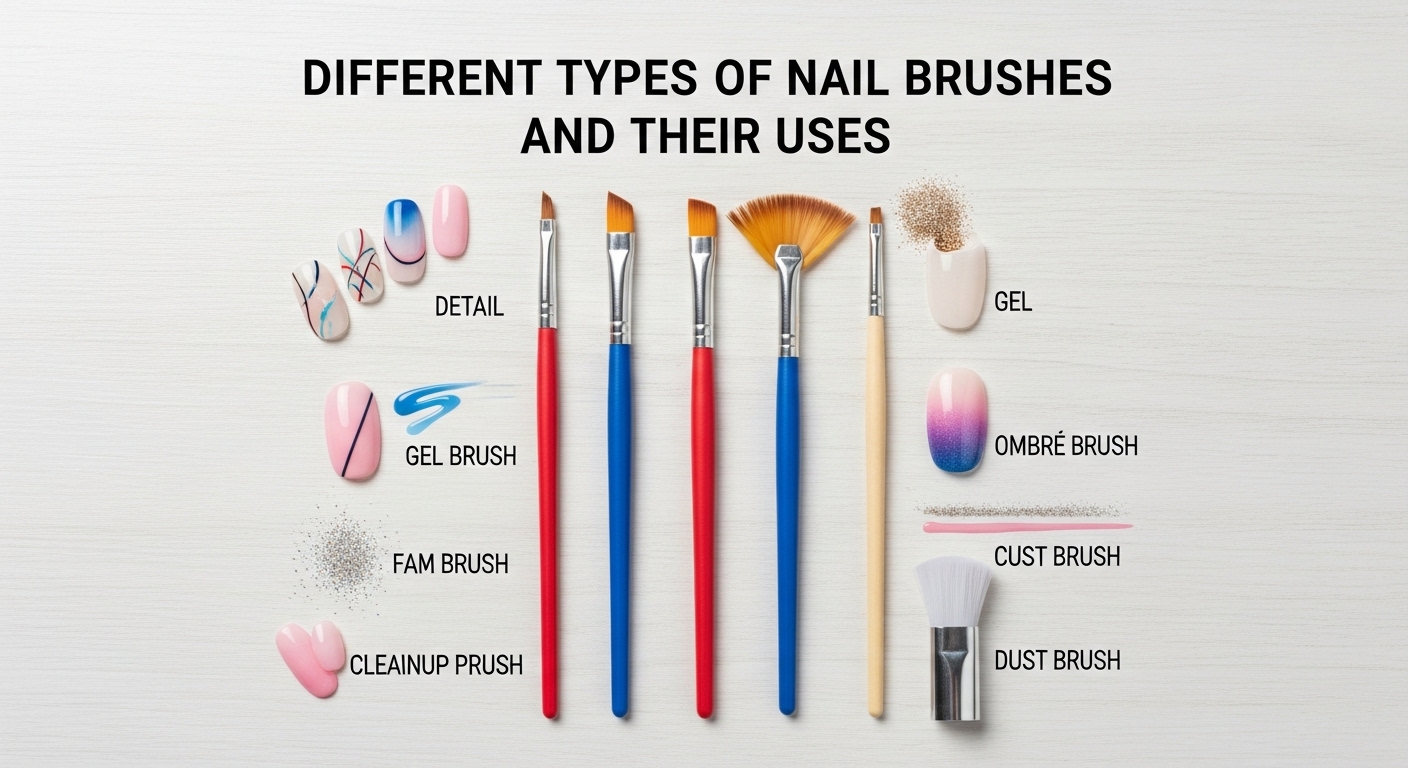
Nail brushes come in several types, each designed for specific jobs: flat brushes for applying polish and gel evenly, detail brushes for fine lines and tiny designs, striping brushes for long straight lines, fan brushes for gradients and blending, angled brushes for French tips and cleanup, and dotting tools for perfect circles. Understanding what each brush does will help you choose the right one for every nail art project and make your work look more professional.
I’ve been doing nails in Johannesburg for years, and knowing which brush to grab makes all the difference between a quick, beautiful job and fighting with the wrong tool for an hour.
The Flat Brush: Your Everyday Workhorse
What it looks like: Wide, flat bristles cut straight across. Usually comes in sizes from 2 to 12, with 6 and 8 being most common.
What makes it special: The flat shape holds lots of product and spreads it evenly across the nail in smooth strokes.
Best used for:
- Applying gel polish without streaks
- Covering the whole nail quickly
- One-stroke flower petals (those pretty petals made in a single brush stroke)
- Applying glitter evenly
- Base and top coats
- Creating ombre effects
Size guide:
- Size 2-4: For small, natural nails
- Size 6: Perfect for average nail size (most popular)
- Size 8-10: Great for long nails and tips
- Size 12: For doing feet or very long stiletto nails
How to use it: Load the brush with product, wipe one side gently on the bottle edge, then paint from cuticle to tip in smooth, even strokes. Don’t press too hard.
Price in SA: R40 to R200, depending on quality and brand.
I keep three flat brushes at my station: a size 4 for tiny nails, a size 6 for most clients, and a size 8 for long nails. This covers everything I need.
The Detail Brush: For When Precision Matters
What it looks like: Super thin with a very fine point. The bristles taper down to almost nothing at the tip. Usually labelled as size 0, 00, or 000 (the more zeros, the thinner it is).
What makes it special: The tiny tip lets you paint the smallest details without messing up.
Best used for:
- Drawing tiny flowers and leaves
- Writing names or letters
- Creating dots in specific spots
- Adding small details to nail art
- Fixing tiny mistakes
- Painting intricate patterns
- Placing rhinestones with precision
How to use it: Hold it like a pen, not a paintbrush. Rest your pinky on the nail or table for stability. Use very light pressure and let the tip do the work.
Common mistakes:
- Pressing too hard (damages the tip)
- Overloading with product (makes blobs instead of lines)
- Not cleaning immediately after use (ruins the fine tip)
Price in SA: R30 to R150
Pro tip: Buy two detail brushes. Keep one for light colors and one for dark colors. Saves so much time switching between colors during nail art.
The Striping Brush: The Line Expert
What it looks like: Very long, thin bristles that come to a point. The bristles can be 1.5 to 3cm long, much longer than a regular detail brush.
What makes it special: The length holds enough product to draw long, continuous lines without needing to reload.
Best used for:
- Drawing straight lines across nails
- Creating French tip lines
- Making swirls and curves
- Drawing flower stems
- Geometric patterns
- Plaid or checkered designs
- Any design needing smooth, flowing lines
How to use it: Load the brush fully with slightly thinned polish or gel. Hold at a 45-degree angle to the nail. Use your whole arm to move, not just your wrist. This keeps lines straight and smooth.
The trick to straight lines: Rest your pinky on the table or the client’s hand. Move your whole hand as one unit. Don’t hold your breath (weird tip, but it works – breathing helps you stay relaxed).
Price in SA: R35 to R120
What to avoid: Don’t use this brush for filling in large areas. It’s made for lines, and that’s what it does best.
The Fan Brush: The Blending Master
What it looks like: Bristles spread out in a fan shape. Can be flat or slightly curved.
What makes it special: The spread-out bristles blend colors together without harsh lines.
Best used for:
- Creating ombre or gradient nails
- Blending two or three colors smoothly
- Applying loose glitter for a soft look
- Making sunset designs
- Adding texture to backgrounds
- Creating watercolor effects
- Dusting on chrome powder
How to use it: Use a light dabbing or stippling motion, not a sweeping stroke. This blends colors without dragging them around too much.
Ombre technique: Apply your colors to the nail in rough stripes. Then use the fan brush in a dabbing motion where the colors meet. The colors blend beautifully.
Price in SA: R30 to R100
I love my fan brush for those pretty sunset nails clients always request. Makes the job so much easier.
The Angled Brush: For Sharp, Clean Edges
What it looks like: Flat brush cut at an angle, usually around 45 degrees. The bristles can be stiff or soft.
What makes it special: The angled edge fits perfectly against curved surfaces like cuticles and creates super sharp lines.
Best used for:
- Cleaning up around cuticles
- Creating perfect French tip smiles
- Fixing mistakes without starting over
- Carving out clean edges
- Applying products in tight spaces
- Creating sharp geometric shapes
Two types:
- Cleanup brush (stiffer): For removing polish with acetone
- Art brush (softer): For painting angled designs
How to use it for cleanup: Dip in acetone or alcohol. Wipe excess on a paper towel so it’s damp, not dripping. Gently glide along the cuticle line. The angle does the work for you.
Price in SA: R25 to R120
Every nail tech needs at least one cleanup brush. It’s the difference between messy-looking nails and professional results.
The Round Brush: For 3D Work
What it looks like: Bristles arranged in a round, pointed shape. Looks a bit like a paintbrush you’d use for art class.
What makes it special: Holds lots of acrylic product and shapes it smoothly.
Best used for:
- Applying acrylic for nail extensions
- Creating 3D acrylic flowers
- Sculpting detailed 3D designs
- Building up acrylic structure
- Smooth application of thick products
Sizes: Usually come in numbers 6, 8, 10, 12, and 14. The bigger the number, the more product it holds.
How to use it: Dip in monomer, then pick up a bead of acrylic powder. The brush shapes and smooths the acrylic on the nail.
Price in SA: R50 to R250
If you’re not doing acrylic nails, you don’t need this brush. But if you do acrylics, it’s a must-have.
The Duster Brush: Often Forgotten But Super Useful
What it looks like: Very soft, fluffy brush. Looks like a small makeup brush.
What makes it special: The soft bristles remove dust without disturbing your work.
Best used for:
- Brushing away nail dust after filing
- Removing excess glitter
- Dusting off chrome powder
- Cleaning nails before applying products
- Sweeping away acrylic dust
How to use it: Gentle sweeping motions. Never press hard.
Price in SA: R20 to R80
You can actually use a soft makeup brush for this. I bought mine at Clicks for R35.
The Gel Brush: Built Different
What it looks like: Similar to a flat brush but often has special synthetic bristles.
What makes it special: The bristles don’t absorb gel like natural hair does, and they’re designed to handle gel cleaner.
Best used for:
- Applying gel polish
- Gel nail art
- Working with any UV/LED curing products
Why you need a special one: Regular brushes can get damaged by gel and gel cleaners. Gel brushes are made to handle these products.
Price in SA: R40 to R180
If you work with gel (and most nail techs do these days), invest in proper gel brushes.
The Liner Brush: Between Detail and Striping
What it looks like: Thin and pointed, but shorter than a striping brush. Usually about 1cm of bristles.
What makes it special: Gives you control for details but can also do short lines.
Best used for:
- Medium-length lines
- Outlining designs
- Adding details to patterns
- Creating leaves and petals
- Writing short words
How to use it: Like the detail brush, but you can apply slightly more pressure because it’s less delicate.
Price in SA: R30 to R100
Honestly, if you have a good detail brush and a striping brush, you might not need this one. But some techs love having the middle option.
The Spotter Brush: Tiny but Mighty
What it looks like: Even smaller than a detail brush. Just a few bristles at the tip.
What makes it special: Perfect for the tiniest details imaginable.
Best used for:
- Placing single dots of color
- Adding highlights to designs
- Creating tiny details in miniature art
- Fixing micro mistakes
Price in SA: R25 to R90
This is a specialty brush. You’ll only need it if you do really detailed, intricate nail art.
Dotting Tools: Not Brushes, But You Need Them
What they look like: Metal or wooden sticks with different sized balls on each end.
What makes them special: Create perfect circles every time.
Best used for:
- Making polka dots
- Placing rhinestones exactly where you want them
- Creating flower centers
- Making small circles in designs
- Marbling and swirling colors
How to use them: Dip the ball in polish, then gently touch the nail. The dot size depends on how much product you pick up and how hard you press.
Price in SA: R20 to R60 for a set
I know they’re not brushes, but no nail tech should be without dotting tools. They make life so much easier.
Choosing Between Natural and Synthetic Bristles
Natural hair (usually sable or kolinsky):
- Holds more product
- Creates smoother finishes
- Better for flowing designs
- More expensive
- Needs gentler cleaning
- Great for acrylic work
Synthetic bristles:
- Works perfectly with gel polish
- Handles acetone cleaning better
- Costs less
- Lasts longer with proper care
- Better for beginners
- Sometimes leaves tiny brush marks
My advice: Start with synthetic brushes. Once you know what you’re doing and what you like, then maybe try natural hair brushes for special techniques.
Building Your Brush Collection
You don’t need every brush type immediately. Here’s how to build up:
Basic starter kit (R200-R300):
- One flat brush (size 6)
- One detail brush
- One cleanup brush
- One dotting tool set
Intermediate kit (add R150-R200):
- Striping brush
- Fan brush
- Angled art brush
- Another flat brush in different size
Advanced kit (add R200-R300):
- Round brush (if doing acrylics)
- Gel brushes
- Spotter brush
- Liner brush
Matching Brush to Technique
For French manicures:
- Angled brush for the smile line
- Flat brush for covering the tip
- Detail brush for fixing any wobbly bits
For ombre nails:
- Fan brush for blending
- Flat brush for applying base colors
- Cleanup brush for edges
For floral designs:
- Flat brush for one-stroke petals
- Detail brush for small flowers
- Striping brush for stems
- Dotting tool for centers
For geometric patterns:
- Striping brush for lines
- Detail brush for corners and meeting points
- Flat brush for filling in shapes
How to Test a Brush Before Buying
When you’re shopping at beauty supply stores:
Check these things:
- Gently tug the bristles – none should come out
- Look at the bristle tips – they should all be even
- Press the bristles on your hand – they should spring back
- Check the ferrule (metal part) – it should be tight
- The handle should feel balanced in your hand
Red flags:
- Bristles at weird angles
- Gaps in the bristles
- Loose ferrule
- Bristles that feel scratchy
- Really cheap price (under R15 – probably terrible quality)
Brushes for Different Nail Services
Regular polish manicure: The polish brush that comes in the bottle usually works fine, but a flat brush gives better control.
Gel manicure: You need gel-specific brushes. The bottle brush often leaves streaks.
Nail art: Detail, striping, and dotting tools are your main tools. Add a fan brush for special effects.
Acrylic nails: Round brush is your main tool. Add a duster brush for cleanup.
Nail extensions: Flat gel brush or round acrylic brush, depending on your extension type.
Taking Care of Different Brush Types
Soft brushes (fan, duster):
- Use gentle cleaners
- Never squeeze or twist
- Pat dry instead of rubbing
Firm brushes (flat, angled):
- Can handle regular cleaning
- Still reshape after every use
- Don’t soak for too long
Detail brushes:
- Most delicate of all
- Clean immediately
- Reshape carefully
- Store with protective caps
Acrylic brushes:
- Clean only with monomer
- Never use acetone
- Store in sealed containers
- Keep them damp with monomer between uses during work
Budget-Friendly Options for Beginners
Starting out? Here’s where to save money:
Buy sets: A basic 5-brush set costs R150-R250 at Clicks or beauty supply stores. Much cheaper than buying individually.
Mix quality: Get a good flat brush and detail brush (use these most). Buy cheaper versions of brushes you’ll use less.
Watch for specials: Beauty supply stores often have sales. I got my first set half-price during a Black Friday sale.
Start small: Buy only what you need for the services you’re actually offering. Add more as you expand.
When to Upgrade Your Brushes
You’ll know it’s time for better brushes when:
- You’re doing nail art daily
- Clients are paying premium prices
- Your current brushes frustrate you
- You’re ready to learn advanced techniques
- Your skills have outgrown your tools
Better brushes don’t make you a better nail tech, but they make good work easier.
Common Problems and Which Brush Solves Them
Problem: Polish looks streaky Solution: Use a flat brush instead of the bottle brush
Problem: Can’t draw straight lines Solution: Switch to a striping brush and brace your hand
Problem: Ombre looks choppy Solution: Use a fan brush for blending
Problem: Tiny details look messy Solution: Detail brush with less product and lighter pressure
Problem: Cleanup takes forever Solution: Good angled cleanup brush saves so much time
Problem: French tips look wobbly Solution: Angled brush or a properly sized flat brush
Learning to Use Each Brush
Practice routine:
- Start with one new brush at a time
- Practice on practice nails or paper
- Watch YouTube tutorials specific to that brush
- Try it on yourself first
- Don’t use it on paying clients until you’re comfortable
Give yourself time: It took me two weeks to get comfortable with my striping brush. Now I use it on every client. Be patient with yourself.
Where Different Brushes Come From
Cheap brushes (R15-R40): Usually from China, basic quality, good for learning
Mid-range (R50-R150): Mix of quality, good for daily use
Professional (R150+): Often from specialized nail suppliers, built to last
All my daily-use brushes are mid-range. They work beautifully and last years with proper care.
Making the Right Choice for Your Work
Ask yourself:
- What services do I offer most?
- What techniques do I want to learn?
- How many clients do I see weekly?
- What’s my budget right now?
- Am I still learning or already experienced?
Your answers will tell you which brushes matter most for you.
The Truth About Expensive Brushes
A R200 brush won’t magically make you better at nail art. But once you know what you’re doing, good brushes make the work easier, faster, and more enjoyable.
Start with affordable brushes that work. Upgrade when you’re ready and can tell the difference. No shame in using budget brushes while learning.
Now you know what each brush does and when to use it. Start with the basics, practice with each one, and add to your collection as your skills and business grow. The right brush for the job makes everything easier, and your clients will see the difference in their beautiful nails.