Ever looked in the mirror and wished you could add instant length and volume to your hair? You’re not alone! Thousands of people ask “how do you put in clip in hair extensions” every month, and for good reason. These magical little tools can transform your look in just minutes, giving you the hair of your dreams without waiting months for it to grow.

What Makes Clip-In Extensions So Special?
Clip-in hair extensions are like having a magic wand for your hair. Unlike permanent methods that need a salon visit, these temporary extensions snap right into your hair using small clips. You can put them in yourself at home, and they won’t damage your natural hair when used correctly. If you’re wondering about other extension types and how they compare, clip-ins are definitely the most beginner-friendly option.
I’ve been working with hair extensions for over 8 years, and I’ve seen how clip-ins have changed people’s confidence. From brides wanting extra volume for their wedding day to students preparing for matric dance, these extensions work for everyone.
Getting Ready: What You’ll Need
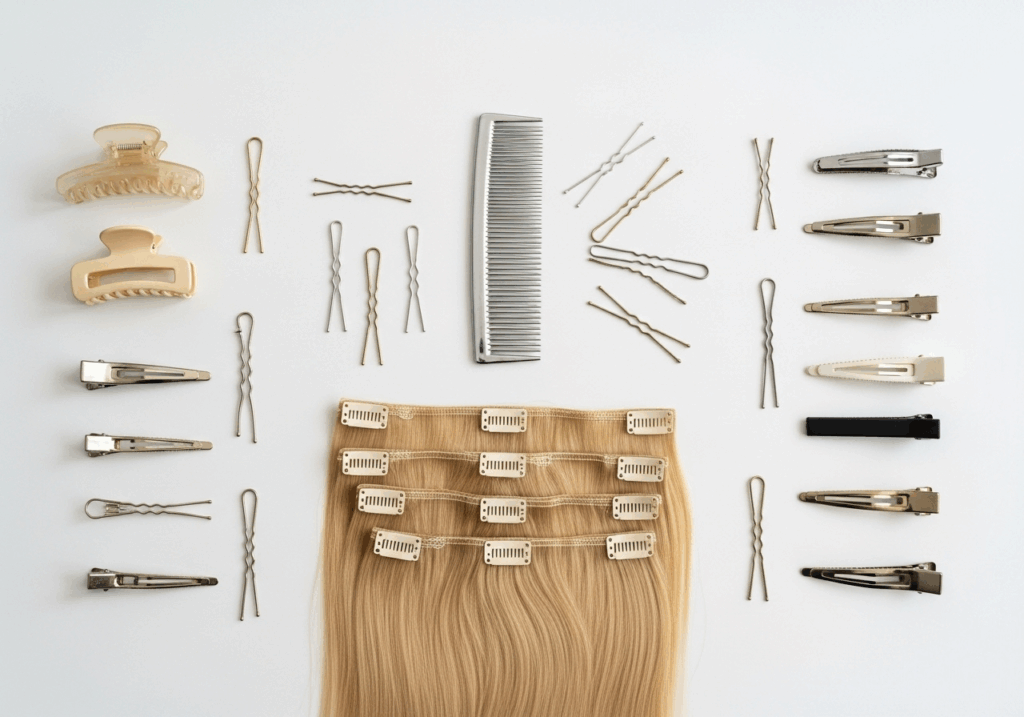
Before we jump into how do you put in clip in hair extensions, let’s gather your supplies:
- Your clip-in extensions (obviously!)
- A wide-tooth comb or brush
- Hair clips or bobby pins
- A mirror (preferably one you can see the back of your head in)
- Optional: a friend to help with the back sections
Choose extensions that match your hair color as closely as possible. If you’re between shades, go slightly lighter – you can always tone them down, but it’s harder to lighten extensions that are too dark. For a comprehensive guide on selecting the perfect extensions for your hair type and lifestyle, check out this detailed comparison of the best clip-in options.
Step 1: Prepare Your Natural Hair
Start with clean, dry hair. Wet hair won’t hold the clips properly, and you might damage both your hair and the extensions. Give your hair a good brush to remove any tangles.
If your hair is very fine or slippery, spray a light mist of texturing spray or dry shampoo at the roots. This gives the clips something to grip onto. Think of it like giving your clips tiny hands to hold on with!
Step 2: Section Your Hair Like a Pro
This is where many people get confused about how do you put in clip in hair extensions, but it’s actually quite simple. Start at the bottom and work your way up.
Create a horizontal part across the back of your head, about 2 inches above your neckline. This is where your first row of extensions will go. Clip the rest of your hair up and out of the way.
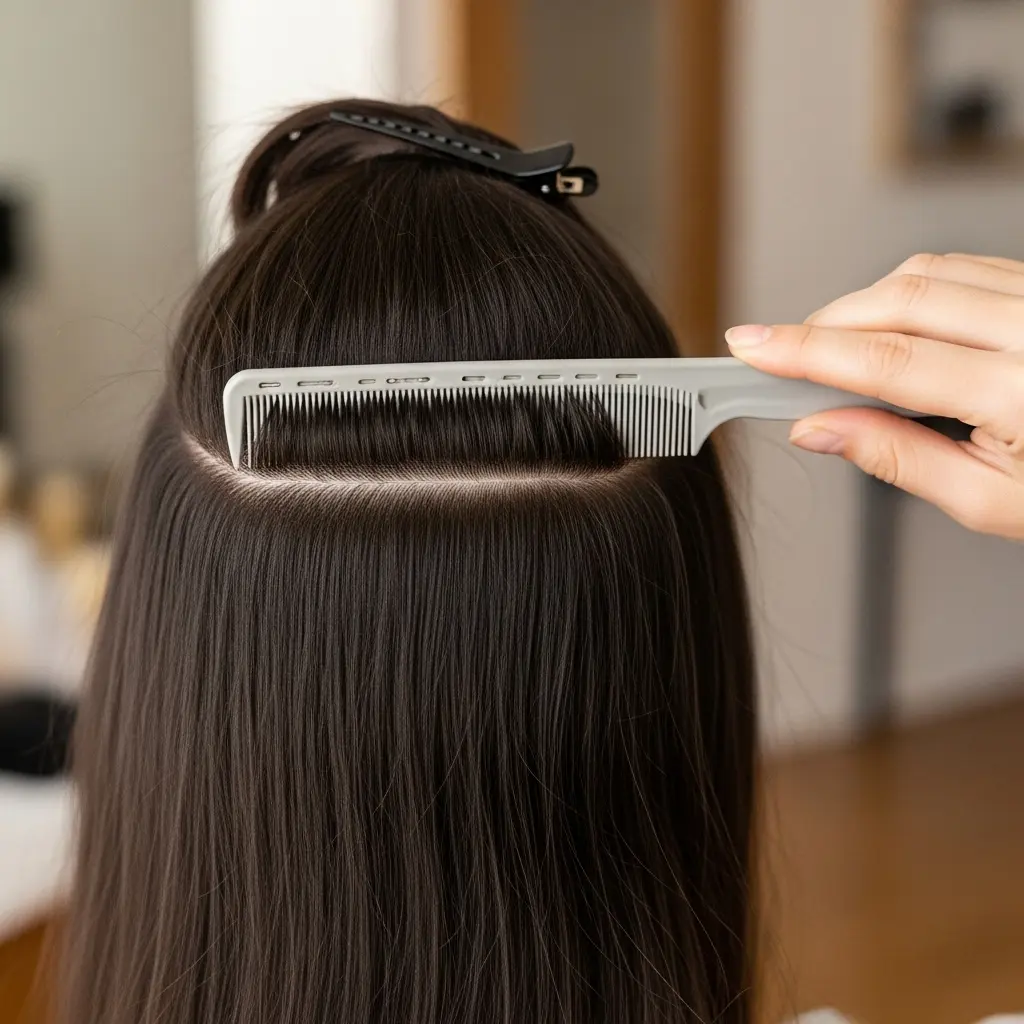
The secret is keeping your sections straight and even. Use the end of your comb to draw clean lines – wonky sections lead to bumpy-looking extensions.
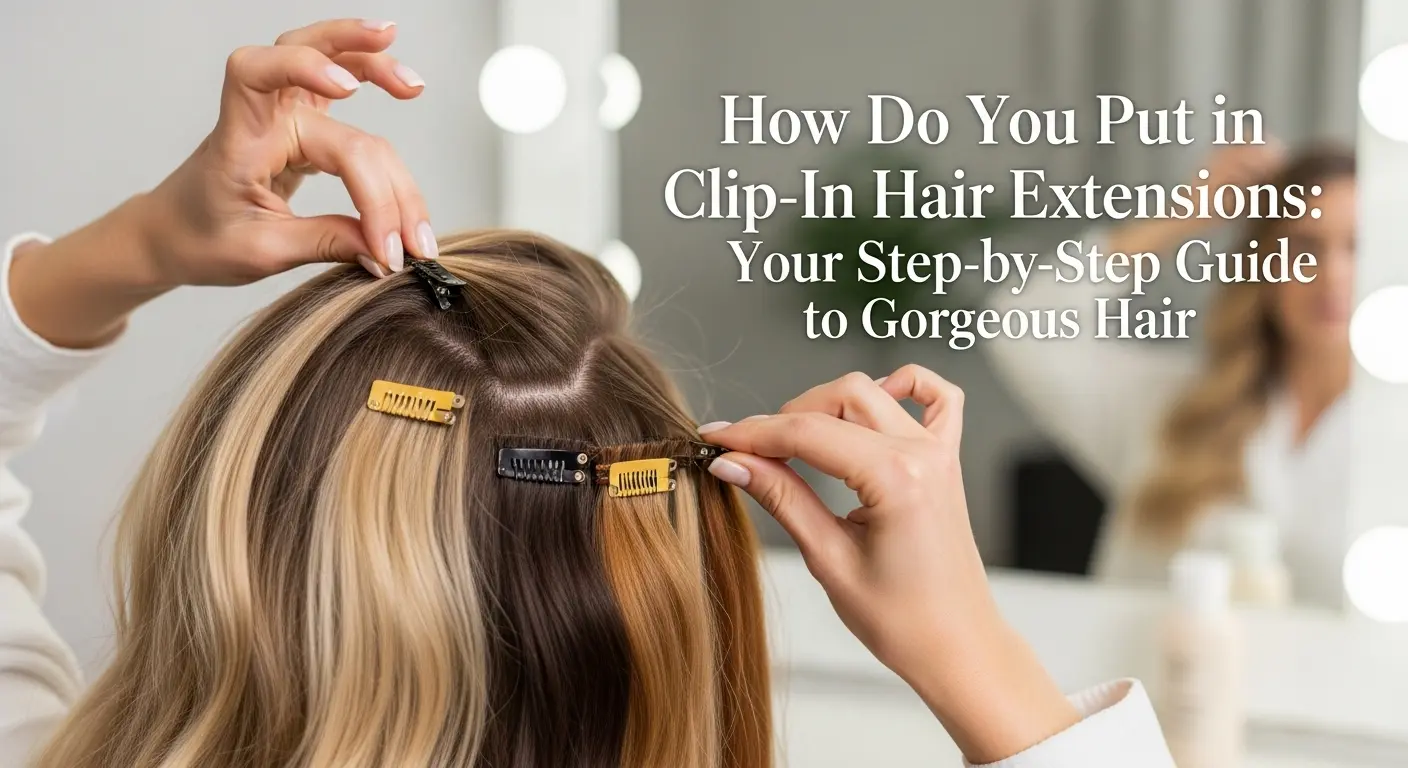
Step 3: Attach Your First Row
Take your widest extension piece (usually the one with 3 or 4 clips). Open all the clips by pressing down on the hinged part.
Hold the extension about an inch away from your scalp – not right against it. This prevents that “wiggy” look that screams “fake hair!” Press each clip down firmly, starting from the middle and working outward.
You should hear a satisfying “click” when each clip closes properly. If a clip feels loose, remove it and try again slightly higher up.
Step 4: Build Your Layers
Let down another section of hair, about an inch above your first row. Repeat the same process with your next extension piece. Keep working your way up, using smaller pieces as you get closer to the crown of your head.
Most clip-in sets come with different sized pieces:
- Large pieces (3-4 clips) for the back
- Medium pieces (2 clips) for the sides
- Small pieces (1 clip) for adding volume around your face

Step 5: Blend Like a Master
Here’s where the magic happens! Once all your extensions are in, it’s time to blend them with your natural hair. Use your brush to gently combine your hair with the extensions, brushing from roots to tips.
If you notice any obvious lines where the extensions start, gently tease your natural hair at the roots to add volume and coverage. The goal is seamless blending – nobody should be able to tell where your hair ends and the extensions begin.
Common Mistakes to Avoid
After helping hundreds of clients learn how do you put in clip in hair extensions, I’ve seen these mistakes over and over:
Placing clips too close to the scalp: This creates an unnatural bump and can be uncomfortable. Leave that inch of space!
Using too many extensions: More isn’t always better. Start with fewer pieces and add more only if needed.
Forgetting to blend: Extensions sitting on top of your hair without blending look obvious and fake.
Choosing the wrong color: When in doubt, ask a hairstylist or order color samples first.
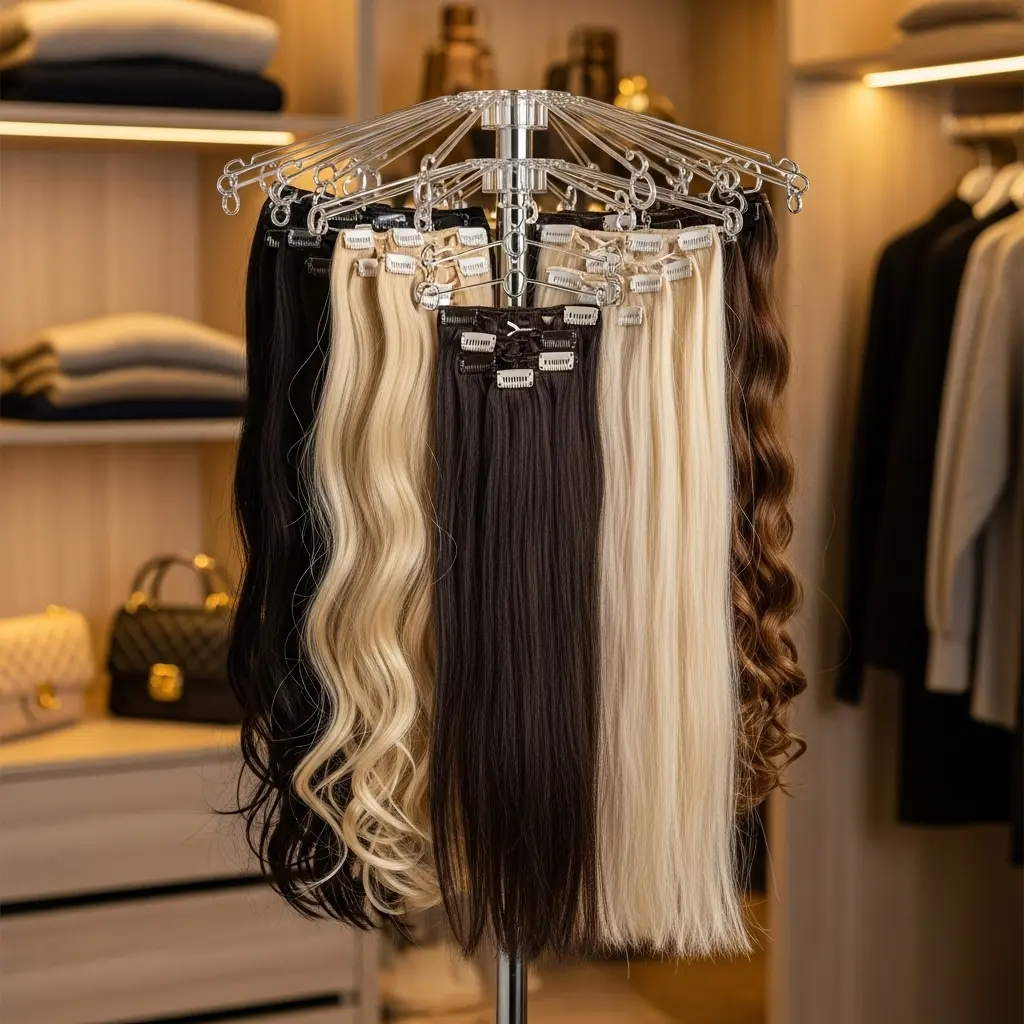
Making Your Extensions Last
Quality clip-in extensions can last 6-12 months with proper care, though this depends on how often you wear them and how well you maintain them. To learn more about maximizing your extensions’ lifespan and getting the best value, proper storage and care are essential. Store them on a hanger or in their original packaging to prevent tangling. Wash them every 15-20 wears using sulfate-free shampoo.
Brush them gently before and after each use, starting from the bottom and working up. This prevents breakage and keeps them looking fresh.
Styling Tips for Natural-Looking Results
Once you know how do you put in clip in hair extensions, experiment with different styles:
- Curl your natural hair and extensions together for seamless waves
- Braid everything together for bohemian looks
- Try half-up styles that show off your added volume
- Use heat protectant spray before styling with hot tools
Remember, extensions can handle heat styling, but they won’t repair themselves like natural hair does. Be gentle and use lower temperatures when possible.
When to Seek Professional Help
While clip-ins are designed for at-home use, sometimes it’s worth visiting a professional. If you’re preparing for a special event, have very short hair, or struggle with the application, a hairstylist can help you perfect the technique.
Many salons offer clip-in application services, and some stylists will teach you the process during your appointment. It’s like getting a masterclass in hair extensions!
Building Your Hair Extension Confidence
Learning how do you put in clip in hair extensions takes practice, so don’t expect perfection on your first try. Start with just a few pieces and gradually work up to a full set as you get more comfortable.
Take photos from different angles to see how your extensions look – sometimes what feels right doesn’t look quite right, and vice versa. With practice, you’ll be able to put in a full set in under 10 minutes.

Your new extensions should feel secure but comfortable. If they’re pulling or causing headaches, they’re probably too tight or positioned incorrectly. Don’t suffer through discomfort – adjust until they feel right.
Remember, clip-in extensions are about enhancing your natural beauty, not hiding it. When applied correctly, they should look like your hair just had an amazing day! Whether you want subtle volume or dramatic length, these versatile tools can help you achieve any look you’re dreaming of.
Ready to transform your hair game? Start with a good quality set of clip-ins that match your hair color, follow these steps, and prepare to fall in love with your new look. Your hair (and your confidence) will thank you!