If you want to print custom nail art at home in South Africa, you have two main choices:
- Use your normal home printer with special nail decal or sticker paper.
- Use a small nail printer made for nails.
Both ways can give you salon-looking nails with your own photos, patterns, or logos. The easiest and cheapest for most people is option 1: using a normal printer with decal paper. I’ll walk you through that, plus give you a quick guide on home nail printers so you can decide what fits your budget.
I work with nail content every day for Salon Journal, and I’ve tested these methods at home myself. If you read this step by step, you’ll know exactly what to buy, how to print, and how to put the design on your nails without bubbles or peeling.
What Does “Printing Custom Nail Art at Home” Actually Mean?
When people hear “print nail art”, they often think of a huge salon machine. But at home, it usually means one of these:
DIY nail decals with your normal printer
You print tiny pictures on special paper, cut them out, and stick them on your nails like thin stickers.Home nail printer machine
A small device that prints straight on your nails, often using a phone app.
Nail decals are cheaper and easier for most South Africans, because:
- You can use the printer you already own.
- You only need to buy special paper and some nail products.
- You can order the paper online from places like Takealot or local nail suppliers.
Let’s start with that method.
Method 1: Print Custom Nail Decals With a Normal Printer
What You Need
You probably already have some of these at home:
- Printer (inkjet or laser – check the paper you buy to match your printer)
- Special nail decal paper (also called water-slide decal paper or printable nail sticker paper)
- Clear top coat (gel or normal, as long as it dries clear)
- Base nail polish (any colour you want under the design)
- Small scissors or nail art scissors
- Tweezers (helpful but not a must)
- Small bowl of water (if you use water-slide paper)
- Nail file and buffer
You can find decal paper by searching “printable nail decals South Africa” or “water slide decal paper SA” on:
- Takealot
- Dis-Chem online
- Nail supply sites that deliver across SA
Always check if the paper is for inkjet or laser printers and match it to what you have at home.
Step 1: Design Your Nail Art
You don’t need to be a graphic designer. You just need clear, simple images.
You can use:
- Phone apps like Canva, PicsArt or any simple photo editor
- Free tools on your computer like Canva (website) or even Microsoft Word / Google Docs to place and resize pictures
Ideas for designs:
- Small flowers, hearts, stars
- Cartoon characters (for personal use only)
- Football or rugby team logos
- Popular patterns (leopard print, marble, stripes)
- Words or names (e.g. “Queen”, “Boss”, your name)
- Cultural prints and patterns that mean something to you
Size tip:
Most nails are around 0.8–1.2 cm wide and 1–1.8 cm long, depending on the finger. Make a page with many small designs in different sizes (for thumbs, index, pinky). You can test and then adjust next time.
Step 2: Print Your Nail Art
- Set your printer to the best quality so the images are sharp.
- Load the decal/sticker paper in the printer as the package shows (print on the correct side!).
- Print a test page on normal paper first to check size and colours.
- When you’re happy, print on the decal paper.
Let the printed sheet dry fully. With some papers, 10–20 minutes is enough. If you have an inkjet printer, waiting a bit longer helps stop smudging.
Step 3: Seal the Printed Sheet
Most printable decal papers need a layer of clear coat on top of the print to:
- Stop the ink from running
- Make the decals stronger when you place them in water or on the nail
Do this:
- Place the dried printed sheet on a flat surface.
- Lightly spray or brush clear top coat over the whole printed area.
- Use thin, even layers. Rather do two light coats than one thick one.
- Let it dry fully (check the bottle, but usually 15–30 minutes).
If you rush this part, the designs may crack or slide off later.
Step 4: Cut Out Your Custom Nail Art
Now you turn your printed sheet into tiny nail art pieces.
- Use small sharp scissors to cut as close to the design as you can.
- For round or curved patterns, cut slowly in a curve so it fits the nail well.
- Sort the pieces by size (smallest for pinky, biggest for thumbs).
You can keep extras in a small envelope for next time.
Step 5: Prepare Your Nails
Great nails start with a good base. Before you stick anything on:
- Wash your hands and dry them well.
- Push back cuticles gently with a cuticle pusher or orange stick.
- Shape and file your nails.
- Lightly buff the nail surface so polish sticks better.
- Wipe nails with a little alcohol or nail cleanser to remove oil.
- Apply:
- Base coat
- Then your base colour if you want one (white, nude or pastel works well under printed designs)
Let your base dry almost fully before putting the decals on. Slightly tacky is okay, but not wet.
Step 6: Apply the Printed Decals
There are two main types of printable papers, so check your package:
A) Water-Slide Nail Decals
These are very thin and look natural on the nail.
- Fill a small bowl with water (room temperature).
- Take one cut-out piece with tweezers.
- Dip it in water for about 10–20 seconds.
- When it starts to slide from the backing paper, it’s ready.
- Hold it carefully and slide the design off the backing onto your nail.
- Gently move it into place with a finger, toothpick or silicone tool.
- Pat it down with a tissue or cotton pad to remove extra water and bubbles.
Do one nail at a time so you don’t rush.
B) Sticker-Type Nail Decals
These act more like normal stickers.
- Peel the backing off the cut-out piece.
- Place the sticky side on your nail.
- Press from the middle out to the sides to avoid air bubbles.
- If the decal is longer than your nail, file the extra off with a downward motion.
Step 7: Seal Your Design So It Lasts
To make your printed nail art last 5–10 days (or longer with gel):
- Let the decals dry on the nail for a few minutes.
- Apply one thin layer of clear top coat over the whole nail.
- For even better wear, add a second thin layer after the first one dries.
- Seal the free edge (the tip of the nail) with top coat to stop peeling.
If you use gel polish:
- Apply your gel base and colour as normal, cure.
- Add the decal.
- Then apply gel top coat and cure again.
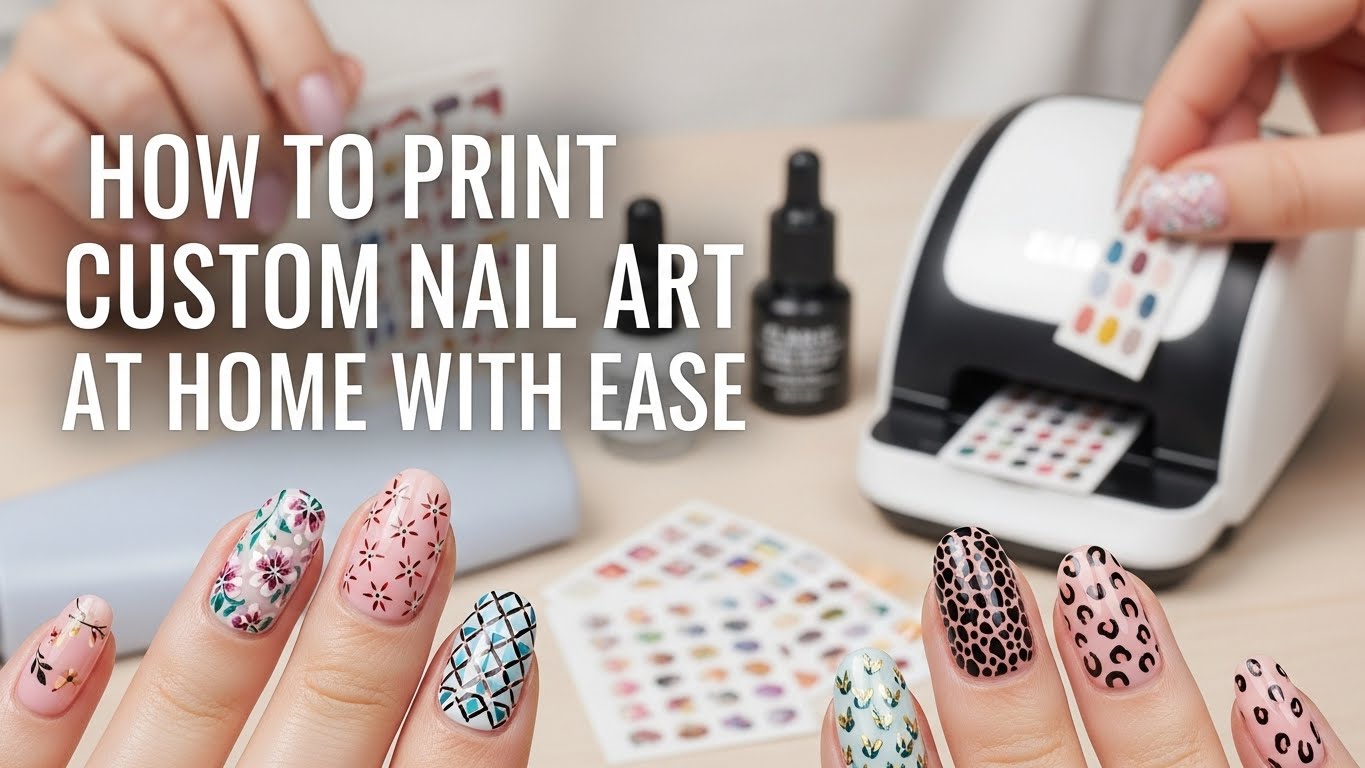
Method 2: Using a Home Nail Printer in South Africa
If you like tech and want faster nail art, you can look at a small nail printer.
What Is a Home Nail Printer?
It’s a compact machine that prints straight onto your natural nail or false tip. Most of them:
- Connect to your phone via an app
- Let you choose designs or photos
- Print each nail in a few seconds
Pros
- Very fast once you know how to use it
- Designs come out very sharp and bright
- You can print full nail art sets with detailed pictures and photos
Cons
- Price – some are a few thousand rand
- You still need base polish, top coat and cleaning products
- You must keep the machine clean and sometimes replace ink or parts
Where to Look in South Africa
You can search:
- “portable nail printer South Africa”
- “home nail art printer SA”
Check:
- Local nail supply shops
- Online stores that bring in salon tech
- Larger marketplaces like Takealot (sometimes they stock them, sometimes not)
How to Use a Home Nail Printer (Short Guide)
Steps differ by brand, but usually:
- Shape and clean your nails.
- Apply base coat and base colour, then let it dry or cure.
- Open the app on your phone and pick a design or upload your own image.
- Place your hand or nail tip inside the printer as the guide shows.
- Tap print on the app.
- Once done, seal with top coat.
If you buy one, always read the full manual and watch video guides from the brand or from nail techs on YouTube. That helps you avoid mistakes and wasted ink.
Safety and Nail Health Tips
As someone who tests nail products often, I’ve learned that pretty nails mean nothing if your nails become weak or sore. Keep these tips in mind:
Don’t skip base coat.
It protects the nail from staining and helps polish and decals stick better.Give your nails breaks.
Allow a few days without polish between long sets, especially if your nails feel thin.Use gentle removers.
Try acetone-free remover where possible, or soak cotton pads and hold them on the nail instead of harsh scraping.Check product labels.
Only buy decal paper and polishes made for cosmetic or craft use. Avoid unknown products with no clear label or ingredients.Watch for allergies.
If you feel burning, itching, or see redness around the nails, remove the product and rest your nails. If it gets worse, see a doctor or skin specialist.
Common Questions About Printing Nail Art at Home
1. Will printed nail art damage my nails?
On its own, the printed art does not harm the nail. Damage usually comes from:
- Rough filing on the natural nail
- Picking or peeling off polish and decals
- Strong removers used too often
If you prep gently and remove your sets the right way, your nails should stay healthy.
2. How long does printed nail art last?
With normal polish and decals, you can expect around 5–7 days if you:
- Use base coat
- Seal with top coat
- Wear gloves for heavy cleaning
With gel polish and decals, it can last 10–14 days or more.
3. Can I print photos of my family or pets?
Yes, as long as the image is clear and bright. Just remember:
- Very dark photos may lose detail on small nails.
- Zoom in on faces or key details so they show nicely.
- Use a base colour that matches – often white or light nude works best.
4. Is it safe for kids?
For kids or teens:
- Keep designs simple and short-term.
- Use milder, kid-safe polishes if possible.
- Avoid strong acetone on young children.
- Always watch younger kids so they don’t put small decals in their mouth.
Printed nail art can be a fun weekend activity with your child if done with care.
5. How do I remove printed nail art?
Remove it the same way as normal polish:
- Soak a cotton pad with nail polish remover.
- Press it on the nail for 10–20 seconds.
- Wipe gently until all colour and decals are gone.
- Wash your hands with soap after.
- Apply cuticle oil or a light hand cream.
Don’t scrape with metal tools or your other nails, as that can thin the nail plate.
Simple Design Ideas to Try First
If this is your first time printing nail art at home, start with easy sets:
Mix-and-match pattern set
Stripes on some nails, polka dots on others, all in the same colour family.SA pride set
Small SA flags, local team logos, or colours from your favourite local club.Photo accent nail
Plain colour on most nails, one nail with a tiny photo of your pet, baby, or partner.Seasonal set
Spring flowers, Christmas designs, Valentine hearts, Heritage Month colours.
Once you feel confident, you can print full cartoon scenes, anime faces, or detailed art.
Printing custom nail art at home in South Africa is very doable, even if you’re still learning. Whether you choose cheap DIY decals with your home printer or invest in a nail printer machine, you can bring your own style to your fingertips without paying salon prices every time.
Take your time on each step, keep your nails healthy, and save your favourite design files so you can reuse them whenever you want a fresh set.