I still remember the first time I tried to take off my own gel nails.
I was sitting on my couch, Netflix on, and I got impatient.
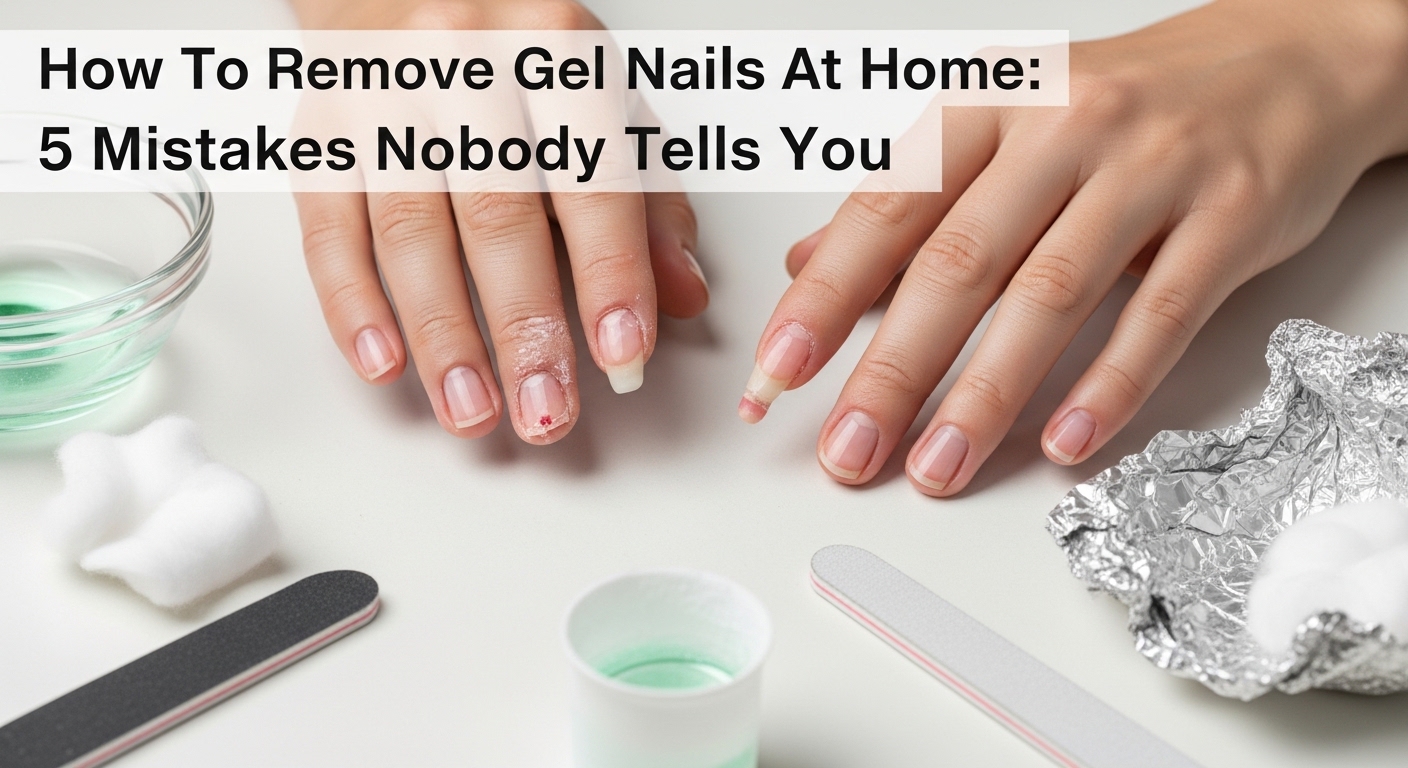
So I did the worst thing ever: I started peeling.
Within minutes, my gel polish was off.
But so was half my real nail.
My nails were thin, sore, and bending backwards when I opened a can. I actually felt like crying.
If you’ve ever stared at your grown-out gel and thought, “Ag, I’ll just pull it off quickly,” this is for you.
You’re not alone, and your nails don’t have to suffer.
If you clicked on this because you searched “How To Remove Gel Nails At Home: 5 Mistakes Nobody Tells You,” I’m going to walk you through all the things I wish someone had told me before I wrecked my own hands.
The Safe Way To Remove Gel Nails At Home (Short Version)
Before we talk about the mistakes, let’s first fix the main problem:
How do you actually remove gel nail polish at home without damage?
Here’s the simple, safe method I use now:
You’ll need:
- Pure acetone (not normal nail polish remover)
- Cotton balls or pads
- Small pieces of foil (or gel nail clips if you have them)
- A nail file (not super rough)
- A cuticle stick or orangewood stick
- Hand cream and cuticle oil
Steps:
- Gently file the top layer
Lightly file the shiny top coat so the acetone can soak in.
Don’t file your real nail. Just the gloss. - Soak the cotton
Wet each cotton piece with acetone. It should be damp, not dripping. - Wrap your nails
Place the wet cotton on your nail, then wrap it with foil.
Make it snug so the acetone doesn’t dry out. - Wait 10–15 minutes
This is the boring part. Don’t cheat. Let the gel soften. - Gently push off the gel
Use the cuticle stick to push the softened gel off.
If it doesn’t slide off easily, wrap and soak again. Don’t force it. - Buff and moisturise
Lightly buff any small bits left.
Then use hand cream and cuticle oil. Your nails will thank you.
That’s the safe way.
Now, let’s talk about the sneaky mistakes that make nails weak, split, and ugly – the stuff no one warns you about.
How To Remove Gel Nails At Home: 5 Mistakes Nobody Tells You (The Real Talk)
When people ask me about How To Remove Gel Nails At Home: 5 Mistakes Nobody Tells You, I always say this:
The method matters, but the tiny habits matter even more.
Let’s go through them one by one so you don’t repeat my painful salon-avoiding phase.
Mistake 1: Peeling Or Picking Your Gel Off
I get it.
The edge lifts a bit, you’re bored, and suddenly you’re peeling that gel like it’s cling wrap.
But here’s what’s really happening when you peel:
- You’re not just taking off the gel.
- You’re pulling off the top layers of your real nail.
- That’s why your nails feel thin, rough, or bendy afterwards.
If your nails:
- Keep breaking
- Feel sore when you press them
- Look rough and patchy
…then picking is probably the reason.
What to do instead:
- As soon as you feel tempted to peel, stop and remind yourself:
“Every peel is layers of my real nail coming off.” - Commit to soaking them off properly, even if it takes longer.
Your future nails will feel so much stronger if you avoid this one bad habit.
Mistake 2: Not Soaking Long Enough (Or Using The Wrong Remover)
Many people tell me, “I tried to remove gel nails at home, but it didn’t work. The polish wouldn’t move.”
When I ask what they used, I often hear:
- “Normal nail polish remover”
- “Acetone-free remover”
- “Only five minutes of soaking”
That’s when I know the problem.
Gel polish needs:
- Pure acetone (check the label)
- Enough time to break it down
If you rush the soak, you’ll end up:
- Scraping too hard
- Filing too much
- Damaging your natural nail
Better way:
- Use real acetone – you can find it at pharmacies or beauty stores.
- Soak for 10–15 minutes before you even touch the gel.
- If it doesn’t lift easily, soak again instead of scraping.
At-home gel removal works well, but only if you give the acetone time to do the job for you.
Mistake 3: Filing Your Natural Nail Too Much
Filing the top coat is good.
Filing half your nail away? Not so much.
I see people do this:
- They file and file until the gel is gone.
- But by then, their real nail is paper thin.
If your nails:
- Feel super sensitive
- Have strange dips or ridges
- Tear easily at the tips
…you might be over-filing during DIY gel removal.
How I file now:
- I only file the shiny top layer of the gel.
- I stop as soon as I don’t see the high gloss anymore.
- I use a medium or fine nail file, not a very rough one.
You don’t need to “sand off” your gel.
You just need to break the seal so the acetone can do the work.
Mistake 4: Skipping Moisture And Aftercare
This one is sneaky.
Your gel is off, your nails look okay, and you think, “Cool, I’m done.”
But acetone is very drying.
If you remove gel polish at home and then do nothing, your nails and skin can end up:
- Flaky
- White and chalky
- Cracked around the cuticles
That dry look isn’t just ugly.
Dry nails break faster and peel more.
My simple aftercare ritual:
Right after I take off my gel:
- I wash my hands to get rid of extra acetone.
- I apply a thick hand cream.
- I rub cuticle oil into each nail and the skin around it.
- If my nails feel weak, I use a strengthening clear polish for a week.
It takes two minutes, but it makes a massive difference.
Healthy nails start after the removal, not just during.
Mistake 5: Doing Gel Back-To-Back With No Break
Here’s something no one told me in the beginning:
It’s not just how you remove gel nails at home that matters – it’s how often you wear them.
If you:
- Wear gel non-stop
- Remove it and put a new set on the same day
- Never give your natural nails a break
…your nails will slowly get weaker, even if you remove your gel perfectly.
I know it’s hard. Plain nails can feel “naked.”
But a little break makes a big difference.
What I do now:
- After two or three gel sets in a row, I give my nails at least one to two weeks off.
- During that time, I use:
- Nail strengthener
- Cuticle oil every day
- Hand cream after washing dishes or cleaning
Think of it like a “holiday” for your nails.
They work hard under all that gel. Let them breathe.
My Go-To Checklist For Safe DIY Gel Nail Removal
Here’s a quick recap you can save for later.
When I think about How To Remove Gel Nails At Home: 5 Mistakes Nobody Tells You, this is the checklist I follow now:
- Don’t peel or pick, no matter how tempting it is.
- Use pure acetone, not normal remover.
- File only the shiny top coat, not your whole nail.
- Soak for at least 10–15 minutes before scraping.
- Never force the gel off – if it’s stuck, soak again.
- Moisturise with hand cream and cuticle oil afterwards.
- Give your nails breaks between gel sets.
Follow this, and you’ll keep your nails strong, even if you remove gel polish at home all the time.
Bringing It Back To Where We Started
When I first looked up How To Remove Gel Nails At Home: 5 Mistakes Nobody Tells You, I honestly just wanted a quick fix.
I didn’t care about “nail health” or “aftercare.” I just wanted the gel off.
But after peeling, scraping, and basically abusing my poor nails, I learned the hard way.
Now I know: the real secret is patience, the right tools, and a few good habits.
You don’t have to be a nail tech.
You don’t need fancy salon gear.
You just need to treat your nails like they’re part of you – because they are.
Next time your gel starts growing out and you feel that urge to pick, remember this chat.
Grab your acetone, your cotton, and your foil, and do it the gentle way.
If this helped you, share it with a friend who also loves gel nails but hates salon prices.
And if you try this method, let me know how your nails feel after a few rounds of proper at-home gel removal – I’d honestly love to hear.