If you love the shine of gel nails yet fear they might hurt your real ones, this guide shows you a gentle way to take them off. You’ll learn simple tips that keep your natural nails strong while still enjoying gorgeous gel polish.
Why Removing Gel Carefully Matters
Gel polish sticks to the nail surface. When you pull it off the wrong way, it can pull on the nail bed, leading to cracks or peeling. Using the right technique lets you get rid of the polish without harming your own nails. That means fresh, healthy claws every time you paint a new set.
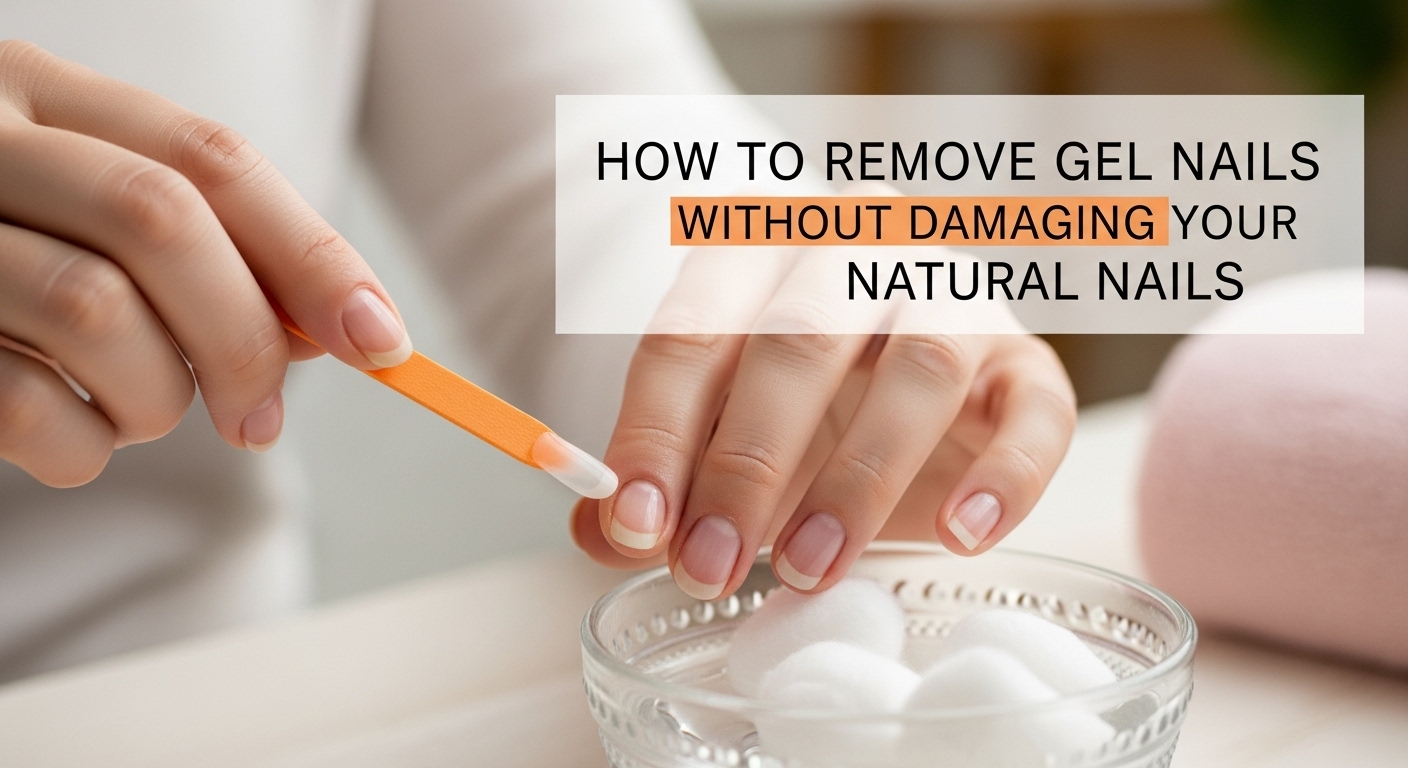
1. Gather the Right Tools
| Item | What it Helps With |
|---|---|
| Nail file (fine grit, like 640) | Removes the shiny top layer gently |
| Amber or clear nail polish remover (acetone) | Breaks the gel’s hold without being too harsh |
| Cotton pads or balls | Absorb the acetone and reach tight spots |
| Aluminum foil or paper towels | Wrap your nails so the acetone stays in place |
| Warm water | Rinse off any leftover remover |
You can pick up a small removal kit from a local beauty store or ask a pro for a recommendation.
2. Prep Your Nails
- Trim if needed – If your natural nails are long, clip them down to a comfortable length.
- File the top – Use the fine‑grit file to take off the shiny gel surface. Don’t file too deeply; just soften the polish.
- Soak (optional) – Some people like to soak a very short time in warm water to help loosen the gel. But it isn’t mandatory.
3. Create a Safe “Foil‑Wrap”
- Cut small squares of foil or paper towels that fit over each finger.
- Put a few drops of acetone onto the nail.
- Wrap the foil around the nail, making sure the foil touches the base but doesn’t press too hard.
- Let it sit for 5–10 minutes. The acetone will soft‑up the gel, allowing it to slip aside.
4. Gently Slide Away the Gel
- After the waiting time, use a soft cotton ball or a wooden nail stick to lift the gel from the base.
- If it resists, reapply a drop of acetone and wait a few more minutes.
- Avoid pulling with force or bending the nail; that’s how damage happens.
5. Clean and Care
- Wash your hands – The acetone will be sticky.
- Moisturise – Pat a good quality cuticle oil or nail cream in. This keeps moisture locked and prevents dryness.
- Check your nails – Look for any thin spots or rough edges. If you find a weak area, file it smooth and apply a strengthening polish or leave it natural for a bit.
6. Quick Tips for Safer Removal
- Use fresh acetone – Old remover can be less effective.
- Avoid harsh scrubbing – The natural nail is delicate; gentle rubbing is enough.
- Take breaks – If you’re removing many nails at once, give each a few minutes between removals to stay light on the cuticles.
- Know when to ask for help – If you see persistent pain, cracks, or if the gel is stubborn, a nail technician can finish the job safely.
7. Why Simple Steps Work
The key is to soften the gel with acetone, not to tear it off. Filming, soft wrapping, and gentle sliding give every natural nail a chance to heal while you maintain a polished look. Even if you’ve tried harsh tricks before, these steps keep your nails from losing strength.
Remember: Your nails are your natural extension, and treating them with care lets you enjoy gel polish every time without worry. Follow these steps, keep your tools ready, and your nails will stay healthy and beautiful.