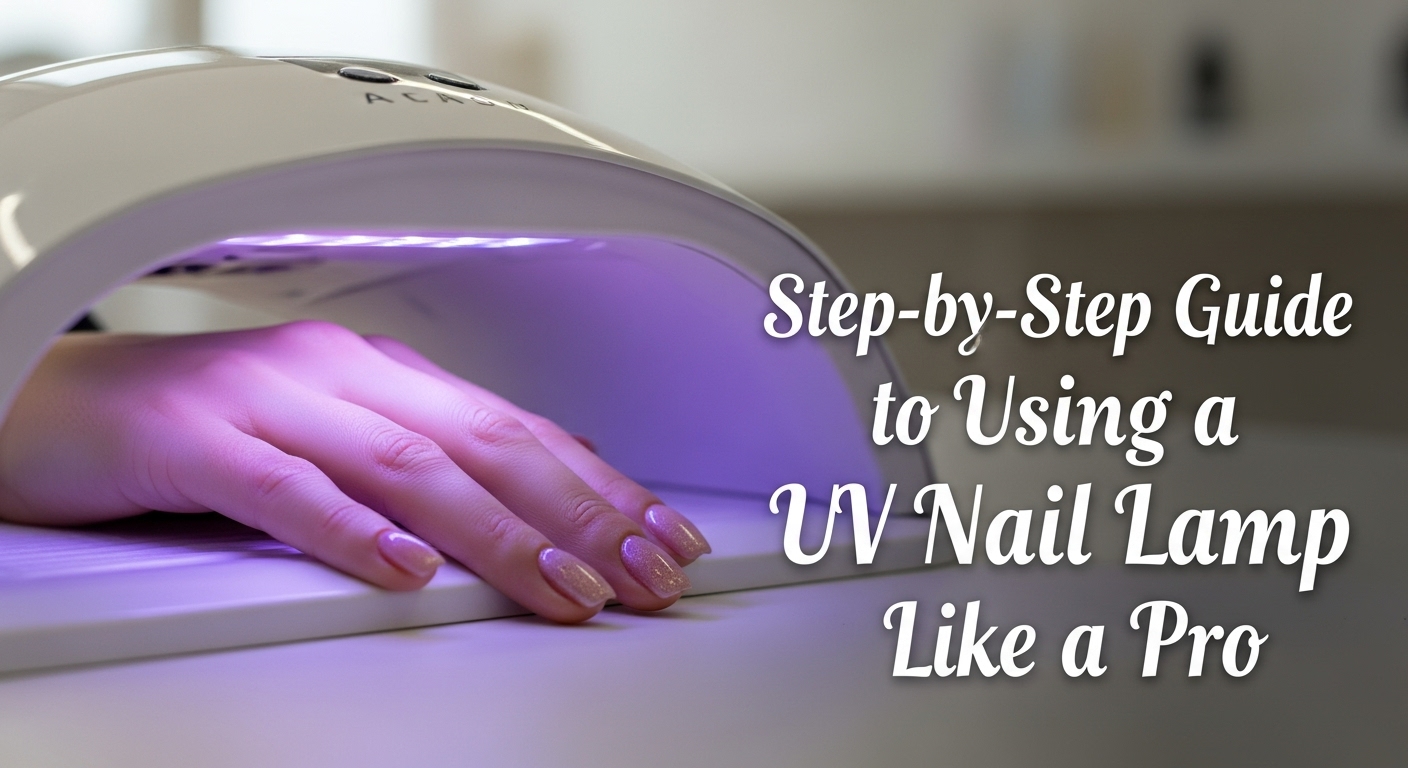
Step‑by‑Step Guide to Using a UV Nail Lamp Like a Pro
Ever tried a gel manicure at home and wondered if you’re really getting the shine and longevity you see in salons? Most of us start with a mug of phone apps and “quick videos” that simply don’t cover the science behind the lamp. Let’s break it down, so you can bathe your nails in that silky‑smooth finish without the fuss.
1️⃣ Gather Your Supplies
| Item | Where to Buy (South Africa) | Approx. Cost (ZAR) |
|---|---|---|
| UV/Nano‑LED nail lamp | Salonjournal.co.za | 350–800 |
| Base coat | BeautyMart | 120 |
| Gel polish (your favourite colour) | Tati | 50–120 |
| Top coat | Tati | 90 |
| Nail file & buffer | Spin Doc | 70 |
| Cleanser or alcohol | Pick n Pay | 30 |
Tip: Pick a lamp with at least 10 W for higher power and faster curing times. Check the “UV‑vs‑LED” page to see which type best fits your budget and nail needs.
Choosing the Right Lamp
- UV lamps work well for traditional gel polish.
- LED lamps cure faster but are usually more expensive.
- Some modern models combine both for versatility.
If you’re on a tight budget, see the “Top 5 budget‑friendly UV nail lamps you can buy today” guide – it lists models that start at just 300 ZAR.
2️⃣ Prep Your Nails – Clean, Buff, and Shape
- Remove old polish with a gentle remover.
- Trim and file to your desired length.
- Buffer the surface lightly (do not over‑buffer – you don’t want to thin the nail).
- Clean the nails with alcohol to remove oils.
Why it matters: A clean, buffed nail ensures the gel sticks properly and gives a flawless finish.
3️⃣ Apply the Base Coat
- Pull off the cap of your base.
- Lightly spread a thin layer over the nail, avoiding the cuticle.
- Blink to keep the light off until the base is set.
Cure Time:
- With a typical 10 W lamp, cure for 45–60 seconds.
- LED lamps may need only 30 seconds.
If you’re unsure about the exact timing, look at the lamp’s manual or the “UV‑vs‑LED” overview for guidance.
4️⃣ Color & Build (Optional)
- For a solid colour: apply a thin coat and cure.
- For frosted or gradient looks: apply multiple coats and cure each.
► Pro tip: If you find that the colour looks light after the first cure, add a second thin coat right away – you don’t want to wait until after the lamp.
5️⃣ Top Coat Application
- Throw on a generous layer of top coat.
- Be careful not to drip onto your skin – use a small brush or a clean fingertip.
- Cure under the lamp again for 45–60 seconds.
At this point, your nails should be shiny and ready. If you slide the lamp and see a faint cloud, give it a few extra seconds.
6️⃣ Finish With a Quick Polish
- Clean the nail surface with a gel‑polish cleaner or a thin layer of alcohol.
- This removes any tackiness and gives an extra shine.
7️⃣ Maintenance & Longevity
- Avoid harsh chemicals in your daily routine.
- Use a nail oil with each wash to keep cuticles hydrated.
- When you notice the gel flaking at the edges, schedule a refill round in 1–2 weeks.
Did you know?
- UV light safety is backed by numerous studies. If you’re worried, the “Is UV light safe for nails?” page breaks down the safety score and best practices.
- Common mistakes, like leaving the lamp too long or using streaks of base coat, are listed in “Top 5 Mistakes When Using a UV Nail Lamp.” Pay attention to those to save time and protect your nails.
8️⃣ When to Call a Professional
If you’re looking for ultra‑hard topcoat, nail art, or have a nail condition (onychomycosis, brittle nails, etc.), a trained technician brings advanced tools and a sterile environment that hard‑to‑find at home.
9️⃣ Quick Checklist Before the Next Session
- Check battery/plug for the lamp.
- Pack a small bottle of nail cleanser and a plastic blade for a quick buff if needed.
- Have a timer handy (or use the lamp’s built‑in timer) – no more guessing!
What’s in it for You?
- Time‑saving: 5–7 minute routines that fit into a lunch break or a quick post‑work sesh.
- Cost‑effective: Home upgrades cost 1/4 of a salon visit.
- Risk‑free: Follow the safety link and you’ll be sure your nails stay healthy.
Try the two feel‑and‑see recommendation lists in our guide to “Best UV Nail Lamps” and you’ll be choosing a device that matches your fingertips—literally. ————-
For a deeper dive into the best kit for beginners, check out the Nail Kit Guide and the Top 10 Nail Kits for Beginners. Each offers tonnes of extra info on application techniques and error‑prevention—perfect for a South African beauty routine.
Enjoy your new salon‑grade nails without leaving your living room. 🌟