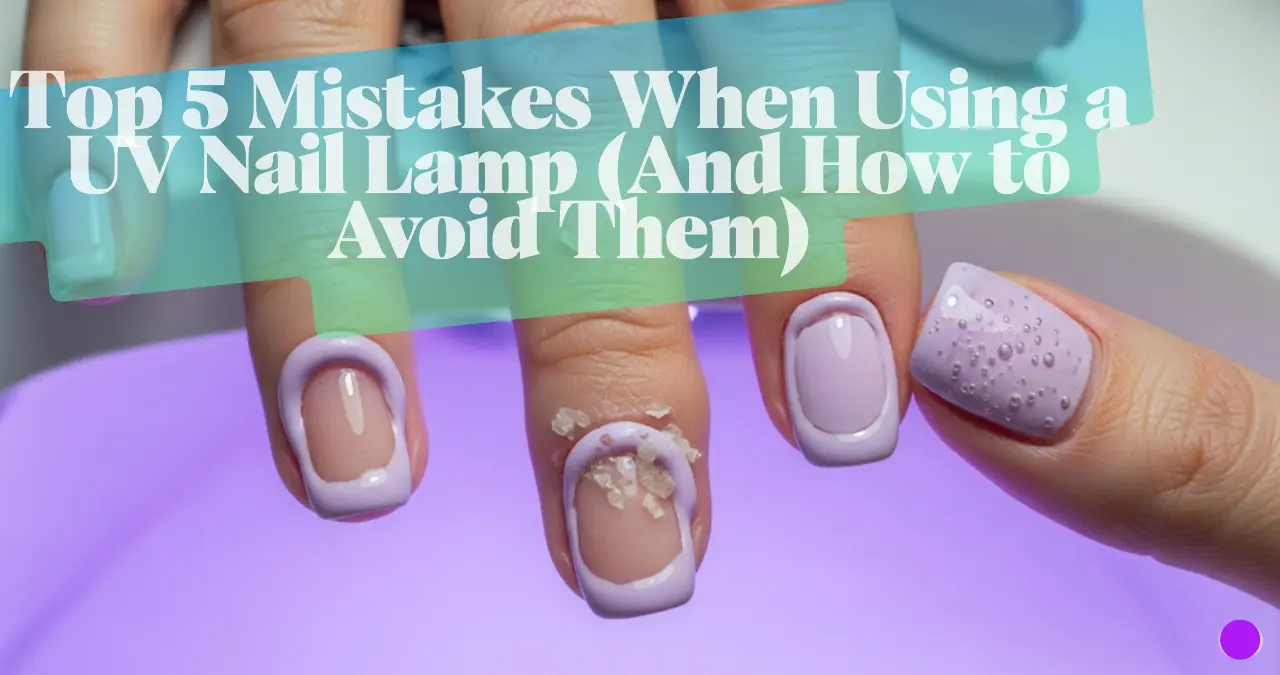
Ever wondered why your gel nails don’t last as long as they should? Or why they sometimes feel hard, sore, or even peel off after just a few days? You’re not alone. A lot of people make simple mistakes when using UV nail lamps, and it can ruin a fresh manicure in no time.
UV nail lamps are those handy machines that help cure gel polish. They dry and harden your nails using ultraviolet light, giving that shiny, salon-perfect look. But if you’re not using them the right way, things can go wrong—fast.
Let’s talk about the top 5 UV nail lamp mistakes people make at home and how you can fix them. By the end of this post, you’ll know how to use a UV nail lamp correctly and avoid the most common nail lamp problems.
1. Curing Your Nails for the Wrong Amount of Time
One of the biggest mistakes is not curing your gel polish long enough—or even worse, over-curing it. If your polish doesn’t dry properly, your nails will feel sticky, soft, and start peeling within days. That’s why many ask, “Why do my gel nails peel so fast?”
On the flip side, over-curing your nails can make them feel brittle or tight. It’s like overcooking a cake—too much and it cracks.
Easy Fix: Always check the instructions on your polish and your lamp. Some gels need 30 seconds, others need 60. Don’t guess—follow what the bottle and lamp say.
2. Using the Wrong Lamp for Your Gel Type
Not all gel polishes work with the same type of lamp. There are two main types: UV lamps and LED lamps. Some polishes are made for UV, some for LED, and some for both.
If you use the wrong lamp, your gel won’t cure properly—no matter how long you keep your hand under the light.
Easy Fix: Check your gel polish bottle. If it says “LED only,” then use an LED lamp. If it says “UV,” then you’ll need a UV lamp. You can also go for a hybrid lamp that supports both UV and LED to stay on the safe side.
3. Skipping the Base or Top Coat
This one’s easy to overlook, especially if you’re rushing. But skipping either the base coat or top coat is a big no-no.
The base coat helps the gel polish stick to your natural nail, and the top coat locks everything in place, adds shine, and protects the colour. Without them, your nails will chip fast and won’t look smooth.
Easy Fix: Always use all three steps—base, colour, and top coat. It takes a bit longer, but your nails will last much longer and look way better.
4. Not Cleaning Your UV Nail Lamp
Yup, your lamp needs cleaning too. Dust, polish drips, and sticky residue can build up inside the lamp and mess with how well it works. Dirty lamps cause uneven curing, and you might see patches where the polish didn’t dry properly.
Easy Fix: After each use, wipe down your lamp gently using a soft cloth and a bit of rubbing alcohol. Make sure it’s unplugged and dry before using it again.
5. Placing Your Hands in the Wrong Position
Even if your lamp is working perfectly, your nails won’t cure right if your hands are in the wrong spot. If your fingers are bent or overlapping, parts of your nails won’t get enough light.
That’s how you end up with uneven colour, peeling, or soft spots.
Easy Fix: Lay your hand flat inside the lamp, fingers slightly spread apart. Don’t move them while curing. And for thumbs, do them separately to make sure the light hits them properly.
🛡️Nail Safety Tips
Want to keep your nails and skin healthy while using your UV nail lamp? Here are some quick extras:
- Protect your skin: Apply a little SPF on your hands or use fingerless gloves while curing. UV light can affect your skin just like sunlight.
- Avoid using the lamp on damaged nails: If your nails are cracked, sore, or infected, wait until they heal before doing a gel manicure.
- Don’t rush: Each step matters. Take your time to clean, prep, and cure properly.
