I still remember the night I sat on my bed, peeling my acrylic nails off one by one.
I was tired. I was broke. The salon was closed.
And I thought, “How bad can it be?”
Bad. It was bad.
My nails were thin, sore, and actually bent when I pressed them. I wished someone had just sat me down and told me a better way. That’s why I’m writing this for you now: the guide I wish I had when I first searched “Wish I Knew: How To Remove Acrylic Nails At Home Without Acetone” and felt totally lost.
So if you’re staring at your grown-out acrylics right now, feeling annoyed or a bit guilty because you want them off today, let’s do it together. Gently. Safely. No harsh acetone.
Quick Answer: Yes, You Can Remove Acrylic Nails Without Acetone
Let me answer your biggest question first:
Can you remove acrylic nails at home without acetone?
Yes, you can.
But here’s the truth no one tells you:
- It takes longer.
- You need patience.
- You must be gentle.
If you rush, pull, or force them off, your natural nails will suffer. And I don’t want that for you.
In this guide, I’ll walk you through Wish I Knew: How To Remove Acrylic Nails At Home Without Acetone using simple tools you probably already have at home.
What You’ll Need (Nothing Fancy)
Before we start, grab a few things:
- A bowl of warm water
- Mild soap (dish soap or hand soap is fine)
- Oil – olive oil, coconut oil, or baby oil
- A nail file (a rough one is best)
- A buffer (if you have one)
- A wooden cuticle stick or orange stick
- Cuticle oil or any moisturising oil/cream
- A small towel
Nothing here is scary. Nothing will burn your skin or make your room smell like a salon.
Method 1: Warm Soapy Water + Oil Soak (Gentle But Slow)
This is my favourite non-acetone method because it’s kind to your nails and skin. It does take time, though, so put on a series, some YouTube, or your favourite podcast.
Step-by-step:
- Trim the length
- Use nail clippers to cut your acrylics down.
- Don’t cut too close to your real nail. Just remove the extra length so there’s less product to deal with.
- File the top layer
- Take your nail file and gently file the shiny top coat off.
- You don’t need to file all the way down.
- This just helps the water and oil get in better.
- Prepare your soak
- Fill a bowl with warm (not boiling) water.
- Add a bit of soap and a splash of oil.
- Stir it with your finger.
- Soak your nails
- Place your hands in the bowl for 15–20 minutes.
- You can do one hand at a time if that’s easier.
- Gently lift the edges
- Take your hand out and pat it dry.
- Use the wooden stick to very gently push at the edges of the acrylic.
- If it lifts easily, fine. If not, stop. Don’t force it.
- Repeat the soak
- If the acrylic is still stuck, soak again for another 10–15 minutes.
- Go slowly. Little by little, the acrylic will start to loosen.
- Buff the surface
- When most of the acrylic is off, use a buffer or fine file.
- Gently smooth the remaining bits instead of scraping hard.
This is the softest way I’ve found while testing Wish I Knew: How To Remove Acrylic Nails At Home Without Acetone methods on myself at home. It may take an hour or more, but your real nails will thank you later.
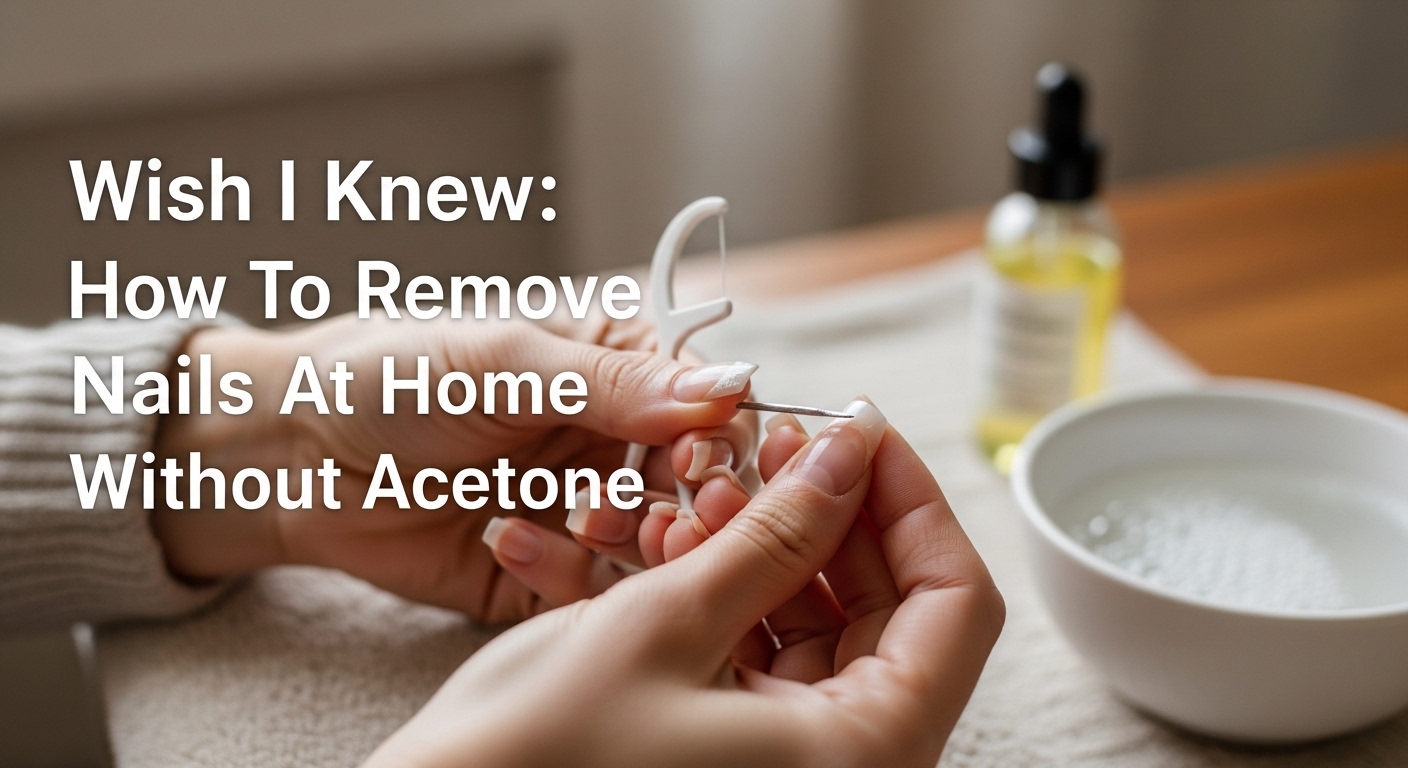
Method 2: Oil + Floss Trick (Only If Your Nails Have Lifted)
I’ll be honest: I’m careful with this one. It can work, but it can also damage your nails if you’re rough. Use it only if the acrylic is already lifting at the back.
You’ll need:
- Oil
- Dental floss (plain, not the fancy mint stick kind if you can help it)
- A friend (optional, but very helpful)
How to do it:
- Soften with oil
- Rub oil all around the edge of the acrylic.
- Let it sit for a few minutes.
- Slide the floss under the lifted part
- Gently slide the floss under the loose edge.
- If it won’t slide in, don’t push. Go back to the warm water method.
- See-saw motion
- Move the floss back and forth slowly while pulling it towards the tip of the nail.
- Do not yank upwards.
- You want the acrylic to slide off, not rip off.
This trick can speed things up, but only use it if your acrylics are already lifting and feel almost ready to come off on their own.
Aftercare: Don’t Skip This Part
Once you’ve removed your acrylics, your real nails might feel:
- Thin
- Dry
- A bit rough
That’s normal, especially if you’ve worn acrylics for a while. Here’s how I baby my nails afterward:
- Buff lightly to smooth any rough bits.
- Massage cuticle oil into each nail and the skin around it.
- Apply a rich hand cream and really work it in.
- If you have it, use a strengthening clear polish for a week or two.
Try to give your nails a break from acrylics or gel for at least a week. Let them breathe and recover.
Things I Wish Someone Told Me Sooner
When I first looked up Wish I Knew: How To Remove Acrylic Nails At Home Without Acetone, I felt like everyone was either shouting “Just use acetone!” or “Don’t do it at home at all!”. No one sat and spoke like a friend. So here’s what I wish I knew back then:
- Never rip or peel acrylics off, even if they seem loose.
- Filing a bit at a time is boring, but it saves your real nails.
- Your nails may look ugly for a few days, and that’s okay.
- Oil is your best friend. Use it often.
- You don’t have to be perfect. Just be gentle.
When You Should Rather Go To A Salon
I love DIY. I also know when to tap out. Go to a nail tech if:
- Your acrylics are very thick and hard.
- You feel pain when you try to lift or file them.
- There’s any green, yellow, or black colour under the nail (this could be an infection).
- You’re just too scared to do it alone.
A pro can soak and remove them safely. Sometimes peace of mind is worth the salon visit.
Why I Keep Coming Back To Non-Acetone Removal
I still use salons. I still enjoy cute sets. But whenever I can, I go back to what I learned from Wish I Knew: How To Remove Acrylic Nails At Home Without Acetone: slow, kind, at-home removal is possible.
No fumes.
No burning feeling.
No waking up the next day wondering why my nails feel like paper.
It’s not about being perfect. It’s about being kinder to yourself and your body.
Final Thoughts: Let’s Treat Your Nails Like They Matter
When I think back to that night I ripped my acrylics off, I feel a mix of shame and sadness. Not because of how my nails looked, but because I didn’t think I deserved better care. I just wanted them off, fast.
Now, when I search or share Wish I Knew: How To Remove Acrylic Nails At Home Without Acetone, it’s not just about nails. It’s about slowing down. Choosing the gentle way.
So here’s what I want you to do:
- Pick a time when you’re not rushed.
- Get your warm water, soap, and oil ready.
- Put on a show or some music.
- Follow the steps and go slow.
And when you’re done, sit for a moment and look at your real nails.
They may not be “Instagram perfect”, but they’re yours.
If you try this method and it helps, share it with a friend who always complains about her acrylics but hates acetone. Let this be the guide she wishes she had too.