We’re building a nail table without breaking the bank.
You’ll learn how to put everything together, choose inexpensive materials, and keep safety in mind. It isn’t a tech‑heavy DIY; it’s a practical job you can do at home, and we’ll walk through each step in plain South‑African terms.
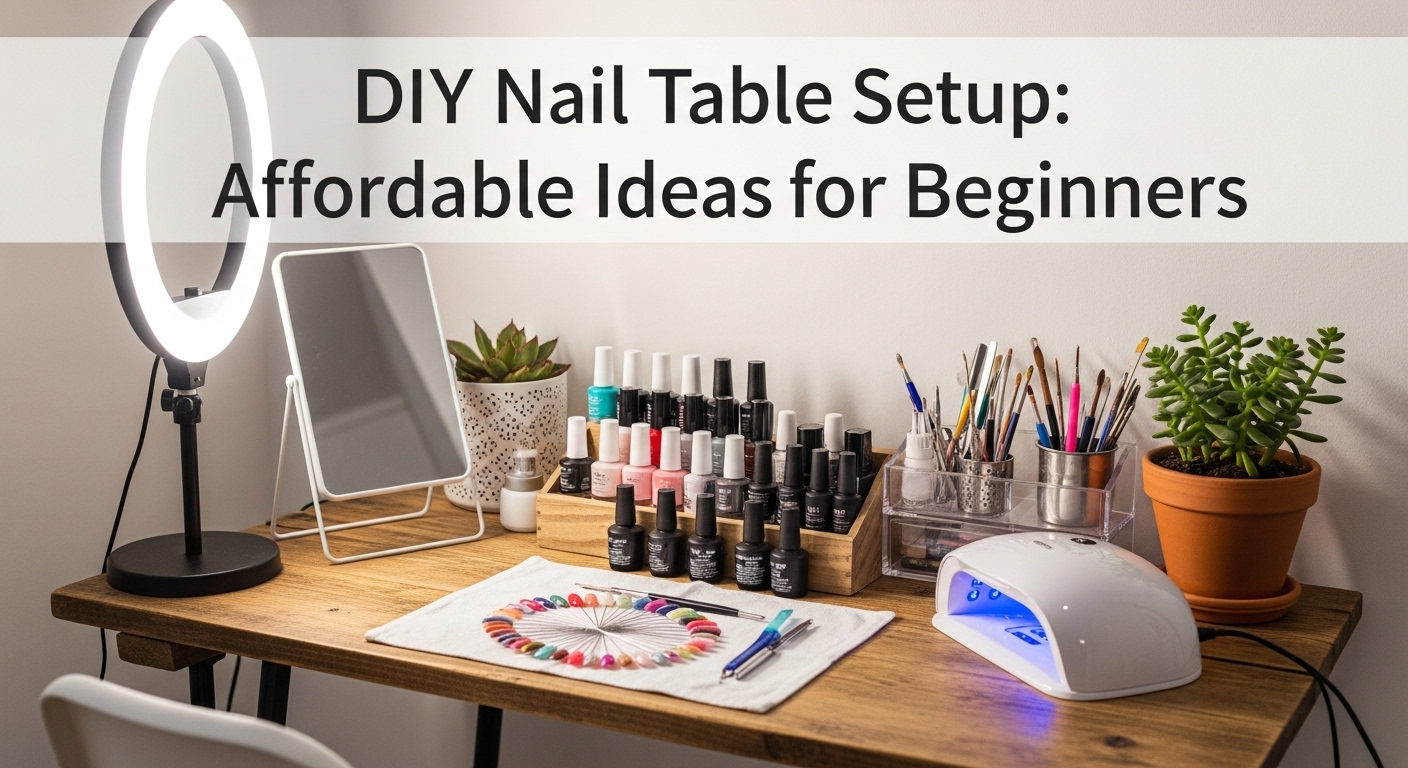
Nail Table Basics
First, think of your nail table as a flat surface, a power source, and a safe zone. The table should be sturdy enough for tools and clients to sit comfortably. A simple rectangle, about 120 cm long and 60 cm wide, is ideal for most beginners.
Use a hardwood board or a plywood sheet—both are cheap, available at local hardware stores, and strong enough for daily use.
Budget‑Friendly Table Build
Materials
- Plywood or hardwood board – around R300
- Wood screws (25 mm) – R100
- Sandpaper (medium grit) – R50
- Finish coat (paint or varnish) – R150
Total: Roughly R600
Construction Steps
- Cut the board to the desired size.
- Sand the edges and surface for a smooth feel.
- Attach legs – use simple metal legs from a hardware shop; they cost about R200 for a set.
- Secure the tabletop with screws. Tighten until the table feels solid.
All these pieces are found in a local shop near you, so you won’t need to travel far.
Tools You’ll Need
- Drill with screwdriver bits – R200
- Screwdriver set – R100
- Measuring tape – R50
- Level – R80
If you already own a drill, you’re halfway there.
Lighting and Power
A good light is essential. A LED work lamp or a simple desk lamp wired to a 12 V or 24 V power source is enough.
- LED lamp – about R250
- Power switch – about R70
- Extension cord – R80
Place the lamp on the side or above the table so the work area is bright.
Flooring and Safety
Cover the floor around the table with a non‑slippery mat. Choose a waterproof, easy‑clean rug – around R180.
Keep all sharp tools out of reach when not in use.
Adding Extra Features
You can add a small storage cabinet for nails, polish, and other supplies. A two‑door unit is R400.
Attach a pegboard above the table for quick access to commonly used items. A pegboard costs about R120.
Quick Fixes for Common Problems
- Table wobbles – tighten screws or add rubber feet (R30).
- Loose screws – replace with larger ones (R15 each).
- Stain or mildew – use a clear sealant (R100).
These fixes keep the table safe and tidy.
Upkeep Tips
- Wipe down with a damp cloth after each session.
- Check screws monthly for looseness.
- Re‑seals the finish every year.
Simple habits save money and extend the table’s life.
Last Check
Your DIY nail table setup should now be complete and affordable – under R 1,000 in total. You can comfortably work for clients while keeping overhead low. Feel free to modify the design to fit your space or personal style.
By following these straightforward steps, you’ll have a reliable, budget‑friendly nail table ready for business. Happy crafting!