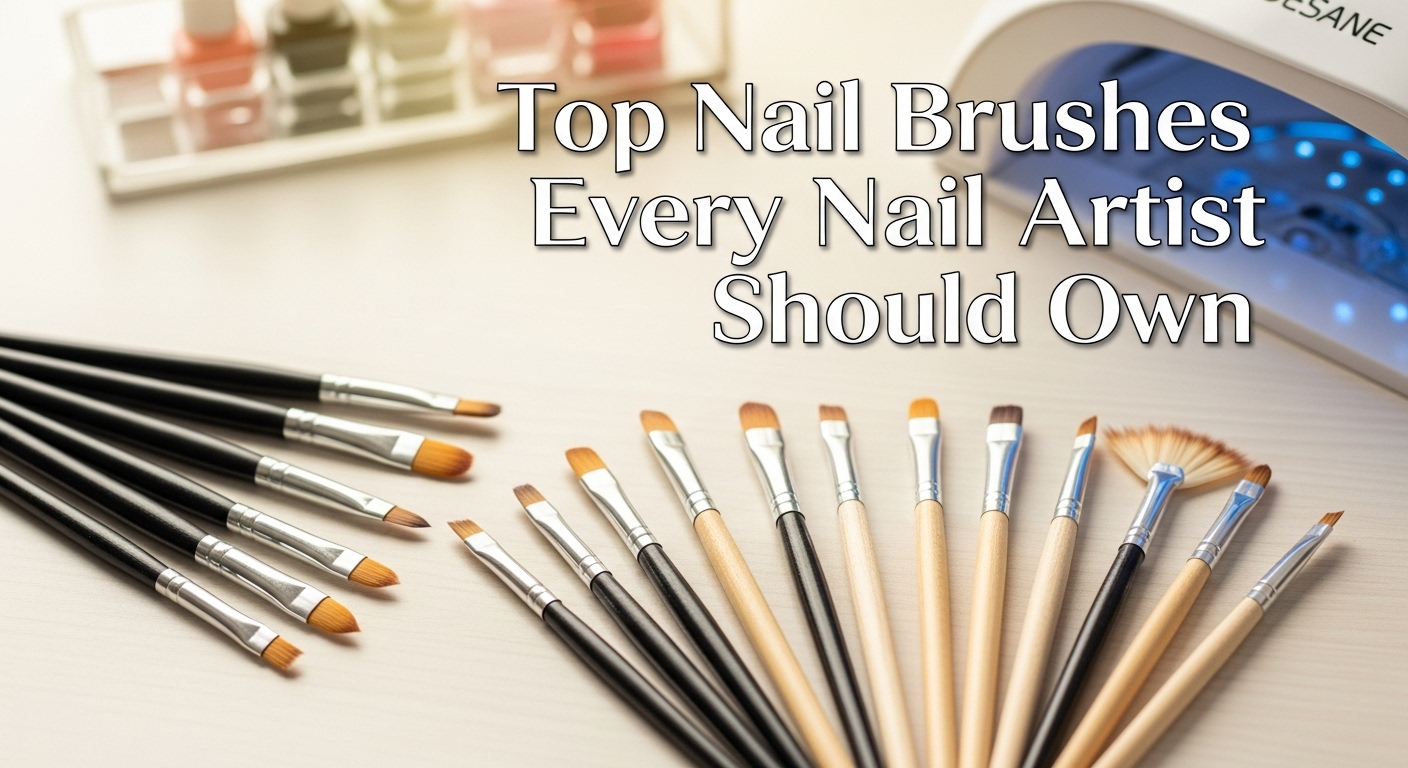
Every nail artist needs at least five basic brushes: a detail brush for fine lines, a flat brush for applying polish and gel, a striping brush for long straight lines, a fan brush for gradients, and a clean-up brush for fixing mistakes. These five will cover most of your nail art needs, whether you’re working from home or in a busy Johannesburg salon.
After doing nails for South African clients for years, I’ve learned that having the right brushes makes your work faster, cleaner, and way more professional-looking.
Why Your Brushes Matter More Than You Think
Good brushes are like good kitchen knives. You can cook with cheap ones, but the right tools make everything easier and your results look better.
When you use the right brush for each job, you’ll:
- Finish nail art faster
- Make cleaner, sharper lines
- Waste less product
- Feel more confident trying new designs
- Keep clients happier with better results
Let me walk you through each brush type and why you need it.
1. The Detail Brush (Size 0 or 00)
What it looks like: Very thin with a super fine point, about the width of a toothpick tip.
What you’ll use it for:
- Drawing tiny flowers
- Creating dots and small details
- Writing letters or numbers on nails
- Painting fine lines in nail art
- Adding small gems exactly where you want them
This brush is your best friend for detailed work. When a client asks for their child’s name on their nails or wants tiny hearts, this is what you reach for.
Price range in SA: Between R30 to R150, depending on the brand.
My tip: Buy two. Keep one for light colors and one for dark colors. It saves so much cleaning time.
2. The Flat Brush (Size 6 or 8)
What it looks like: Flat and wide, with bristles cut straight across.
What you’ll use it for:
- Applying gel polish evenly
- Doing one-stroke flower petals
- Creating ombre effects
- Applying glitter
- Covering larger areas quickly
This is probably the brush you’ll use most often. It holds enough product to cover the nail in smooth, even strokes without going over the edges.
Price range in SA: R40 to R180
My tip: The size depends on the nail size you work with most. If you do lots of tips or long nails, get a size 8. For natural nails, size 6 works better.
3. The Striping Brush (Long Liner)
What it looks like: Very long, thin bristles that come to a point. Usually about 2cm long.
What you’ll use it for:
- Drawing straight lines across nails
- Creating French tip lines
- Making swirls and curves
- Drawing stems for flowers
- Any design that needs a smooth, continuous line
This brush holds more paint than a detail brush, so you can draw longer lines without reloading. Perfect for those geometric designs that are so popular right now.
Price range in SA: R35 to R120
My tip: Keep your hand steady by resting your pinky on the table while you work. It makes your lines much straighter.
4. The Fan Brush
What it looks like: Bristles spread out in a fan shape, usually flat and wide.
What you’ll use it for:
- Blending colors together
- Creating gradient effects (ombre nails)
- Applying glitter for a soft, scattered look
- Making sunset designs
- Adding texture to nail art
Fan brushes give you that soft, blended look that’s hard to get with other brushes. Great for those pretty gradient nails everyone asks for.
Price range in SA: R30 to R100
My tip: Use a dabbing motion, not a sweeping one. It gives better blending.
5. The Clean-Up Brush (Angled or Flat)
What it looks like: Flat brush cut at an angle, usually a bit stiff.
What you’ll use it for:
- Cleaning up polish around the cuticles
- Fixing mistakes without starting over
- Creating sharp, clean edges
- Removing excess gel before curing
- Tidying up smudges
Every nail artist makes mistakes. This brush dipped in acetone or alcohol saves you from having to remove entire nails and start again.
Price range in SA: R25 to R90
My tip: Keep this brush separate from your art brushes. The acetone can damage brushes meant for polish.
Bonus Brushes Worth Getting Later
Once you’ve got your basic five and you’re doing more advanced work, these are next on the list:
Dotting Tool (Not Really a Brush, But You Need It)
Perfect for making perfect dots, placing rhinestones, and creating polka dot designs. You can find these for R20 to R60.
Angled Detail Brush
Like a detail brush but cut at an angle. Great for petal work and creating specific shapes. Around R40 to R130.
Round Brush
Good for 3D acrylic work and creating rounded shapes. If you’re doing acrylic nails, you’ll want this. Price ranges from R50 to R200.
Natural Hair vs Synthetic: What’s Better?
Natural hair brushes:
- Hold more product
- Create smoother finishes
- Cost more money
- Need more careful cleaning
Synthetic brushes:
- Work great with gel polish
- Last longer with acetone cleaning
- Cost less
- Sometimes leave brush marks
For South African nail artists starting out, synthetic brushes are your best bet. They handle our products well and don’t break the bank.
How to Know If a Brush is Good Quality
When you’re shopping at beauty supply stores in Canal Walk, Sandton City, or online, check these things:
The bristles shouldn’t:
- Fall out when you tug gently
- Spread out in weird directions
- Feel scratchy or rough
- Have gaps or missing sections
The handle should:
- Feel comfortable in your hand
- Be balanced (not too heavy on one end)
- Have bristles attached firmly
- Look neat and well-made
Don’t be shy to test brushes in the store if they let you. A good brush feels right in your hand.
Caring for Your Brushes
Your brushes will last years if you treat them right. Here’s what I do:
After each use:
- Wipe excess product on a paper towel
- Clean with brush cleaner or acetone
- Reshape the bristles to their original form
- Lay flat to dry (never stand them upright while wet)
Weekly deep clean:
- Soak in warm water with a drop of dish soap
- Gently massage the bristles
- Rinse until water runs clear
- Reshape and dry flat
Never:
- Leave brushes standing in water or acetone
- Let gel harden on the bristles
- Use hot water (it loosens the glue)
- Store them in direct sunlight
Where to Buy Quality Brushes in South Africa
You can find good nail brushes at:
Physical stores:
- Clicks and Dis-Chem (basic sets)
- Beauty supply stores in your local mall
- Salon equipment suppliers
- Chinese beauty supply shops (often cheaper)
Online:
- Takealot
- Bash
- Bid or Buy
- Local nail supply websites
- International sites (but watch for customs fees)
My advice: Start with a basic set from a local store. Once you know what you like, you can order specific brushes online.
How Much Should You Spend?
Beginner budget: R200 to R400 for a basic set of five brushes
Professional kit: R500 to R1,200 for quality individual brushes
Top of the range: R1,500+ for premium imported brushes
Remember, you don’t need to buy everything at once. Start with the basic five, learn to use them well, then add more as your skills grow.
Common Mistakes to Avoid
Buying too many brushes at once: You’ll get confused about which to use when. Start small.
Using the same brush for everything: This damages the brush and makes your work harder than it needs to be.
Not cleaning properly: Dried product ruins brushes fast. Clean after every single use.
Storing brushes wrong: Keep them in a brush holder or roll, not loose in a drawer where they get damaged.
Buying the cheapest option: Super cheap brushes lose bristles in your work and need replacing quickly. Rather save a bit longer for decent quality.
Making Your Brushes Last Longer
A good brush can last you 2-3 years if you care for it properly. Here’s how:
- Never let gel cure on the bristles
- Clean immediately after use
- Store away from heat and sunlight
- Don’t press too hard when painting
- Replace when bristles start splaying out permanently
Building Your Collection Over Time
Month 1: Buy your basic five brushes
Month 2: Add a dotting tool and an extra detail brush
Month 3: Get a second flat brush in a different size
Month 4: Add specialty brushes for techniques you use most
This way, you’re not spending a fortune upfront, and you learn what you actually need for your style of work.
What Your Clients Notice
Clients might not know what brush you’re using, but they notice:
- Clean, sharp lines
- Even coverage
- Professional-looking details
- How long their nails last
- Whether you have to fix and redo things
Good brushes help you deliver all of this. They’re not just tools; they’re what makes you look like a pro.
Starting Your Nail Art Journey
If you’re just starting out, don’t stress about having every brush type. I started with three brushes and a toothpick. Seriously.
Get your basic five, practice with them, watch YouTube tutorials, and learn what each brush can do. Once you’re comfortable, add more to your collection.
The best nail artist isn’t the one with the most brushes. It’s the one who knows how to use what they have to create beautiful nails that make clients smile.
Keep your brushes clean, store them properly, and replace them when they’re worn out. Your hands and your clients’ nails will thank you for investing in the right tools.
Now go create some beautiful nail art. Your brushes are ready when you are.