Do you ever wonder if you can trim your own acrylic nails at home? Acrylic nail clippers can do the job, but they need to be used the right way. In this guide you’ll see how to choose a good pair, match them to your nail type, and protect yourself from sharp blades and split nails. Everything is broken down into short steps and easy‑to‑read tips that even a beginner can follow.
1. What Are Acrylic Nail Clippers?
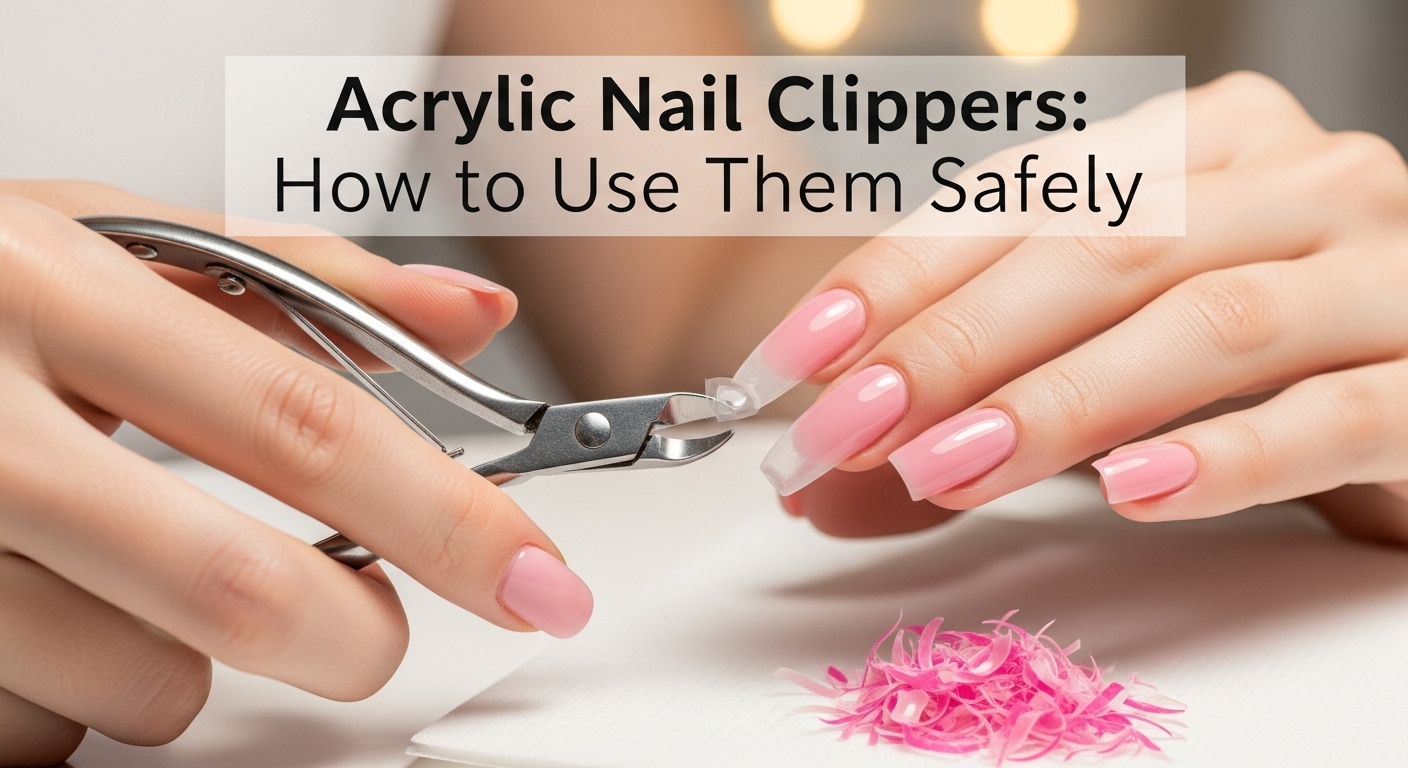
Acrylic clippers are specially shaped tools that let you trim acrylic nails without crushing them. They have a curved blade that follows the nail’s edge and a safety lock that stops the blade from cutting too deeply. Some models fit a nail file or a nail drill grip, which gives extra control.
Because acrylic nails are thicker than natural nails, ordinary nail clippers often leave uneven cuts or split the nail. Acrylic clippers were built to avoid those problems.
2. Picking the Right Pair
- Weight and size – If the clippers feel too heavy, you’ll lose control. Look for a lightweight design that still feels sturdy in your hand.
- Blade material – Stainless‑steel blades keep sharper longer and are rust‑resistant.
- Locking mechanism – A spring‑loaded stop or a thumb‑safe button prevents over‑cutting.
- Grip – A rubber or silicone finger groove makes it easier to hold and less slippery.
- Price tags in South Africa – You can find quality clippers at local stores such as Shoprite, Allied, or online on Takealot and Take 4 Beauty.
If you are unsure, ask a nail tech at a salon for a recommendation before buying.
3. How to Use Acrylic Nail Clippers Safely
3.1 Get the Nail Ready
- Wash your hands and nails thoroughly with soap.
- Water‑soften the acrylic: hold the nail under warm water for 10–20 seconds. This reduces stiffness and lowers the risk of cracking.
- Check the length – If the nail is too long, trim in short segments rather than one long cut.
3.2 Hold the Nail Correctly
- Hold the nail steady with one hand while the other grips the clipper.
- Place the clipper tip at the far side of the nail and tilt it so the blade follows the outer curve.
3.3 Make the Cut
- Engage the lock – Before pressing, click the safety button to set the depth.
- Apply gentle pressure. A firm but slow squeeze works best.
- Move in one direction – Avoid back‑and‑forth motions that can split the nail.
- Finish the edge – When the nail is close to the desired shape, switch to a fine file to smooth any roughness.
3.4 Don’t Cut Past the Nail Bed
Cutting too deep exposes the nail bed, which is painful and invites infection. The safety lock should click before you feel any pressure at the nail base.
3.5 Clean & Store
After use, wash the blades with warm water and a mild soap. Dry them completely to stop rusting. Keep the clippers in a clean pouch; many models come with a small storage case.
4. Common Mistakes to Avoid
| Mistake | Why It’s Harmful | Fix |
|---|---|---|
| Using a regular nail clipper | Cuts unevenly and can split acrylic | Switch to acrylic‑specific clippers |
| Cutting too fast | Causes nicked edges and brittleness | Slow, steady pressure |
| Not locking the blade | Over‑cutting can drill through | Always set the safety lock |
| Ignoring hygiene | Stores bacteria on blades | Clean after each use |
| Neglecting regular blade replacement | Dull blades leave ragged cuts | Replace blades when they look rusty or loose |
5. When to Seek Professional Help
If your acrylic nails are heavily built, have a color mask on top, or show signs of infection (redness, swelling, pus), it is safer to visit a licensed salon. A technician can trim safely, handle de‑coloring, and disinfect everything properly.
6. South Africa‑Specific Tips
- Climate matters – The dry air in many parts of South Africa can make acrylic brittle. Trim more often to keep the nails from cracking.
- Shop locally – Look at the “Stress‑Free | Nail Tools” section in Clicks or the beauty aisle in Massmart for reliable brands.
- Alternatives for busy mornings – Many home‑care kits now include a clipper, a buffer, and a protective layer. Buy a kit rated for “Acrylic use” to keep tools in one box.
7. Final Note
Using acrylic nail clippers correctly keeps your nails looking sharp, eliminates split tips, and protects the nail bed. By picking the right tool, following safe cutting steps, and cleaning the blades, you’ll enjoy professional‑style results right at home. If you ever feel uncertain, a visit to a local salon to learn from hands‑on experience can give you a strong foundation before you tackle the job alone.