So you’ve got gel nail polish on your nails and you want to take it off at home without ruining your natural nails? Good news – you can do it safely! The best way to remove gel nail polish without damage is to soak your nails in acetone for 10-15 minutes, then gently push off the softened gel. Never peel or pick at your gel polish because this pulls off layers of your natural nail.
I’ve been working with nail technicians across South Africa for years, and the number one mistake I see people make is rushing the removal process. Trust me, a little patience goes a long way when it comes to keeping your nails healthy and strong.
What You’ll Need to Remove Gel Polish at Home
Before you start, gather these items. You probably have most of them at home already:
- Pure acetone (not regular nail polish remover – it must be 100% acetone)
- Cotton wool balls or pads
- Aluminium foil cut into small squares
- A nail file (180 grit works best)
- A cuticle pusher or orange stick
- Cuticle oil or coconut oil
- Hand cream or moisturiser
You can find acetone at Clicks, Dis-Chem, or your local beauty supply shop. It usually costs between R30 and R60 for a bottle that will last you several removals.
Step-by-Step Guide to Safe Gel Removal
Step 1: File the Top Layer
Take your nail file and gently buff the shiny top coat of your gel polish. You’re not trying to file all the polish off – just scratch up that shiny surface. This helps the acetone soak into the gel properly.
Be gentle here. You only need to remove the shine, not dig into the colour.
Step 2: Protect Your Skin
Acetone is drying, so rub some cuticle oil or even cooking oil around your nails and on your fingertips. This creates a small barrier that protects your skin while the acetone does its job on the polish.
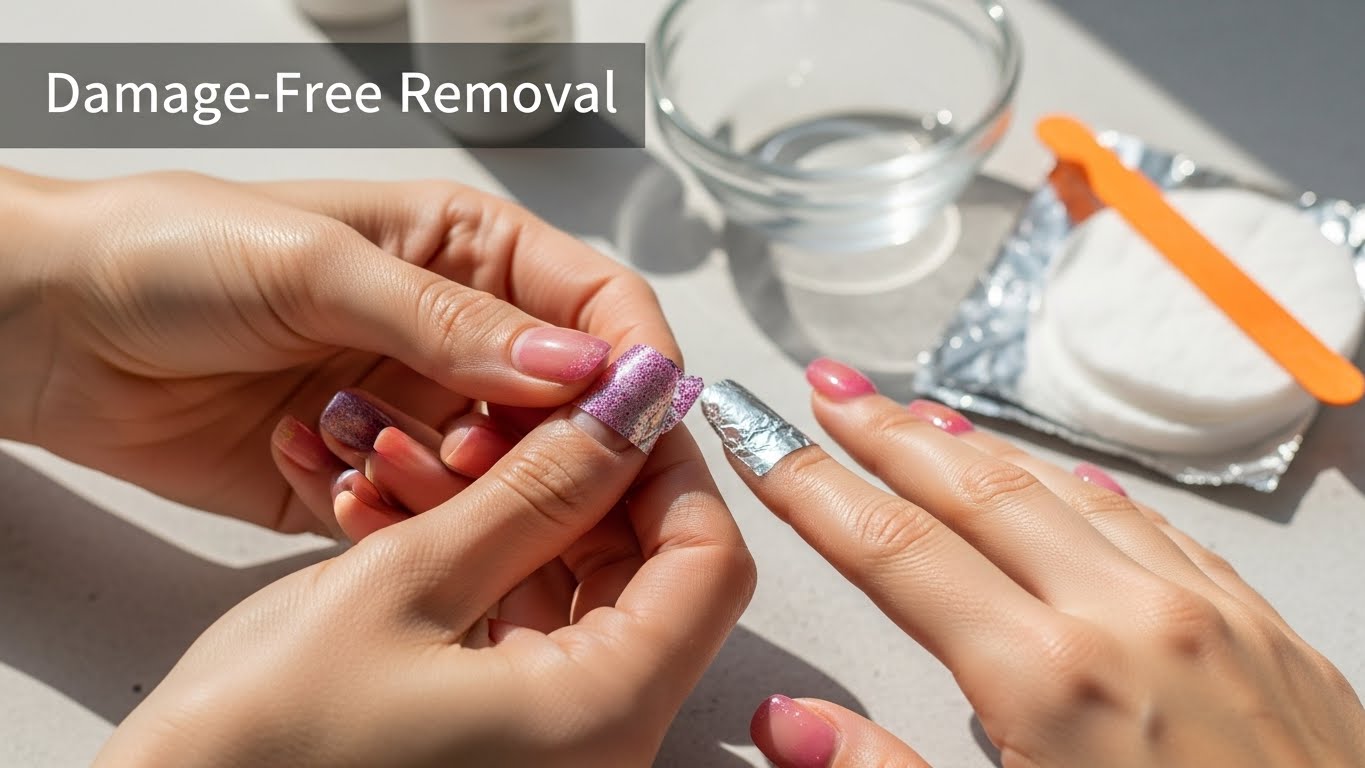
Step 3: Soak with Cotton and Foil
Soak a cotton ball in acetone and place it directly on your nail. Then wrap your fingertip tightly with a small piece of aluminium foil. The foil keeps the cotton in place and stops the acetone from evaporating too quickly.
Do this for all ten fingers. Yes, it feels a bit awkward, but it works!
Step 4: Wait Patiently
Here’s where many people mess up. You need to wait at least 10-15 minutes. Put on a TV show, have a cup of tea, or just relax. Don’t keep checking every two minutes because opening the foil lets the acetone evaporate.
If you have thick gel or builder gel, you might need to wait up to 20 minutes.
Step 5: Gently Push Off the Gel
After waiting, remove one foil wrap at a time. The gel should look wrinkled and lifted. Use your cuticle pusher to gently push the gel off your nail. It should slide off easily.
If it’s not coming off easily, don’t force it! Wrap it up again and wait another 5 minutes. Forcing gel off is exactly how nails get damaged.
Step 6: Clean Up and Moisturise
Once all the gel is off, wash your hands with warm water and soap. Then – and this is really important – apply cuticle oil and hand cream. Acetone dries out your nails and skin, so you need to put that moisture back.
Why You Should Never Peel Off Gel Polish
I know it’s tempting when you see a little chip or edge lifting. But peeling off gel polish is terrible for your nails. Here’s why:
Gel polish bonds tightly to the top layers of your natural nail. When you peel it off, you’re literally ripping off layers of your nail plate. This leaves your nails thin, weak, and damaged. They’ll feel rough and might even hurt.
I’ve seen customers come into salons with nails so damaged from peeling that they needed months of treatment before they could wear any polish again. It’s just not worth it.
Alternative Methods That Work
The Bowl Soak Method
If you don’t have foil, you can soak your nails directly in a small bowl of acetone. Pour enough acetone to cover your nails and soak for 15-20 minutes. This uses more acetone but works just as well.
Keep in mind that your skin will get quite dry with this method, so really load up on moisturiser afterwards.
Steam Method
Some people warm their acetone slightly (never on a stove – it’s flammable!) by placing the acetone container in a bowl of warm water. The warmth helps the gel soften faster. But please be careful – acetone fumes are strong and the liquid is highly flammable.
How Long Does the Whole Process Take?
Plan for about 30-45 minutes from start to finish. I know that seems long, but rushing leads to damage. Think of it as self-care time.
Here’s a quick breakdown:
- Filing the top coat: 5 minutes
- Wrapping nails: 5 minutes
- Soaking time: 15-20 minutes
- Removing gel: 5-10 minutes
- Cleanup and moisturising: 5 minutes
Caring for Your Nails After Gel Removal
Your nails need some love after gel removal. Here’s what I recommend:
For the first week:
- Apply cuticle oil twice a day
- Use hand cream every time you wash your hands
- Avoid harsh chemicals and cleaning products without gloves
- Keep nails short to prevent breakage
Give your nails a break:
Many nail experts suggest waiting at least one week before applying gel polish again. This gives your nails time to recover and rehydrate.
Signs Your Nails Are Damaged
After removing gel, check your nails for these warning signs:
- White patches or spots
- Nails that bend easily
- Rough, uneven texture
- Thin, see-through nails
- Peeling layers
If you notice any of these, give your nails a longer break from gel polish. Use a nail strengthener and keep them moisturised.
When to See a Professional
Sometimes it’s better to visit a nail salon for removal. Consider going to a pro if:
- You have nail extensions or builder gel (these need different removal techniques)
- Your nails are already damaged
- You’ve tried at home and the gel won’t budge
- You’re not confident doing it yourself
A professional gel removal at a salon in South Africa usually costs between R80 and R150. It’s worth it if you’re unsure about doing it yourself.
Common Mistakes to Avoid
After years of hearing stories from nail technicians and clients, these are the biggest mistakes I see:
Using regular nail polish remover: It doesn’t work on gel. You need pure acetone.
Not filing the top coat first: The acetone can’t penetrate the shiny top layer properly.
Peeling or picking: We’ve covered this, but it bears repeating. Don’t do it!
Not waiting long enough: Patience really is everything with gel removal.
Skipping the moisturiser: Your nails and skin will suffer if you skip this step.
Using metal tools aggressively: A gentle touch with an orange stick is all you need.
Tips from South African Nail Technicians
I chatted with a few nail techs from salons in Joburg, Cape Town, and Durban about their best tips:
“Always work in a well-ventilated area. Open a window or sit outside. Acetone fumes can give you a headache.” – Nomvula, Johannesburg
“If you’re doing this often, invest in proper gel removal clips from a beauty supply store. They work better than foil and are reusable.” – Candice, Cape Town
“Don’t forget your thumbs need extra time. The gel is usually thicker there.” – Precious, Durban
Keeping Your Nails Healthy Between Gel Manicures
Healthy nails make for better gel manicures. Here’s how to keep your nails in top shape:
- Drink plenty of water
- Eat foods rich in protein and biotin
- Don’t use your nails as tools
- Wear gloves when cleaning
- Take breaks between gel applications
Products That Help Nail Recovery
Look for these products at Clicks, Dis-Chem, or beauty shops:
- Cuticle oils with vitamin E or jojoba oil
- Nail strengtheners (Sally Hansen and Revlon make good ones)
- Biotin supplements if your nails are really struggling
- Rich hand creams with shea butter
Removing gel nail polish at home doesn’t have to damage your nails. With the right tools, proper technique, and a bit of patience, you can take off your gel safely and keep your natural nails looking and feeling great. Remember – never peel, always moisturise, and give your nails the time they need to stay healthy.
If you found this helpful, check out our other nail care guides on Salon Journal. We’re here to help you look and feel your best, whether you’re doing your nails at home or finding the perfect salon near you.