Picture this: You walk out of an important meeting, glance down at your nails, and instead of seeing chips, scratches, and that dreaded “day-three manicure look,” you see perfectly glossy, salon-fresh nails that look exactly like they did two weeks ago. This isn’t a fantasy—it’s what happens when you master the art of UV gel nails at home.
After doing my own gel manicures for over five years and helping countless friends achieve the same results, I can confidently say that learning this skill has been one of the most practical beauty investments I’ve ever made. Not only have I saved thousands of rands in salon visits, but I’ve also gained the freedom to experiment with colors and designs whenever inspiration strikes.
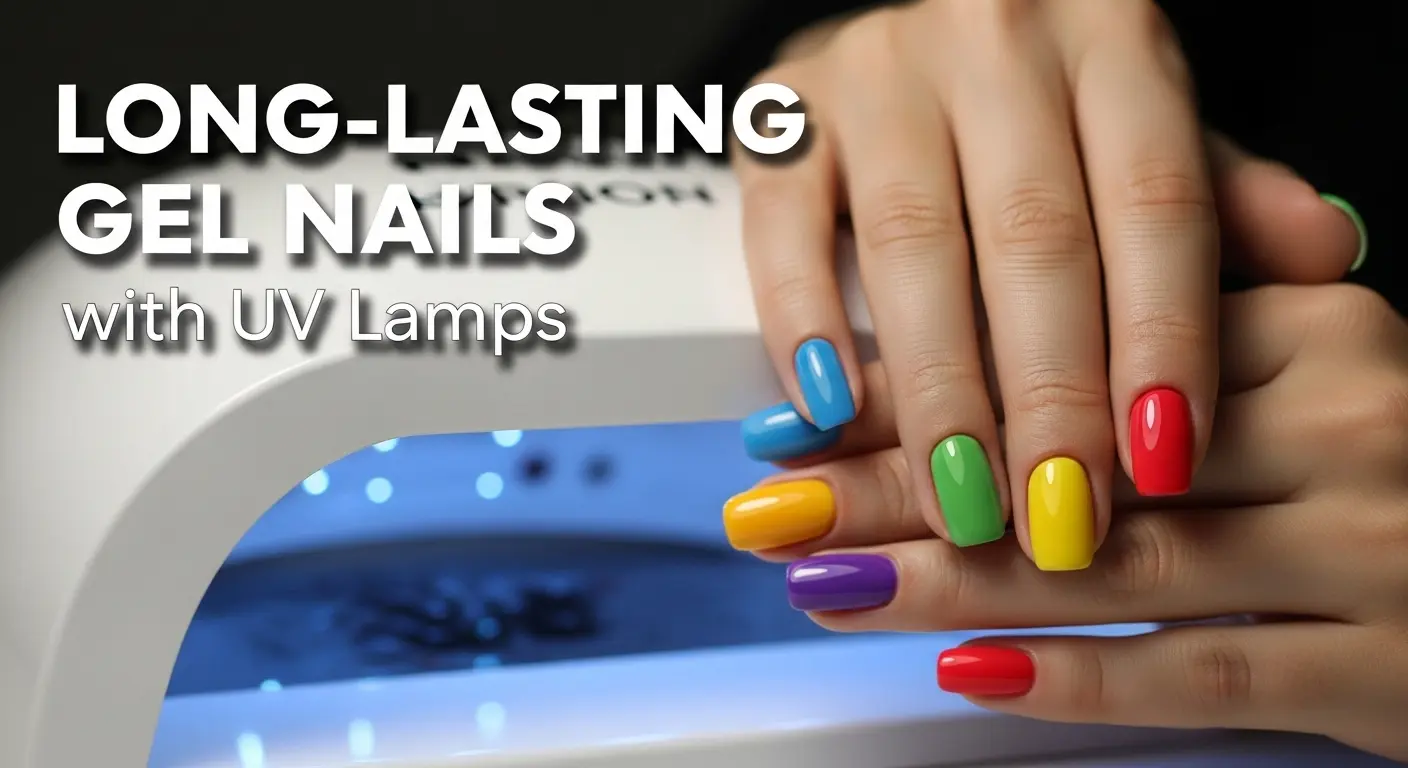
What Makes UV Gel Nails Different from Regular Polish?
The fundamental difference between gel polish and traditional lacquer lies in the curing process. Regular nail polish air-dries through solvent evaporation, which creates a relatively soft finish prone to chipping. Gel polish, however, contains photoinitiators—special molecules that react when exposed to specific wavelengths of UV or LED light.
When you place your freshly painted gel nails under a UV lamp, these photoinitiators trigger a chemical reaction called polymerization. This process transforms the liquid gel into a hard, cross-linked polymer that bonds strongly to your nail surface. The result? A manicure that can withstand daily wear, frequent hand washing, and even minor impacts without showing signs of damage.
The Science Behind UV Lamp Curing
Understanding how UV lamps work helps you achieve better results and avoid common mistakes. Most nail lamps emit light in the 365-395 nanometer range, which is the optimal wavelength for activating gel polish photoinitiators. The curing time typically ranges from 30 seconds to 2 minutes, depending on:
- The specific gel formula you’re using
- The lamp’s wattage (higher wattage = faster cure times)
- The thickness of your polish application
- The color pigmentation (darker colors often need longer cure times)
Professional nail technicians know that proper curing is crucial—under-cured gel remains soft and prone to damage, while over-cured gel can become brittle and lift at the edges.
Essential Equipment for Home Gel Manicures
Choosing the Right UV Lamp
Your lamp is the heart of your gel nail setup. I recommend investing in a 36-watt UV lamp with a timer function—it provides consistent results across different gel brands. If you’re unsure which type to choose, check out our comprehensive UV vs LED nail lamp comparison to understand the differences. LED lamps work faster but may not be compatible with all gel formulas, so check your polish specifications first.
Key features to look for:
- Timer settings (30 seconds, 60 seconds, 2 minutes)
- Easy bulb replacement access
- Spacious interior to fit all five nails comfortably
- Reflective interior surface for even light distribution
For detailed reviews of the top-performing models, see our guide to the best UV nail lamps currently available.
Must-Have Gel Products
Base Coat: Creates adhesion between your natural nail and color polish. Never skip this step—it’s what prevents lifting and extends wear time.
Color Polish: Choose high-quality gel polishes from reputable brands. Cheaper alternatives often require more coats and may not cure properly.
Top Coat: Seals in color and provides that mirror-like shine. Some top coats have a sticky residue layer that needs removal with rubbing alcohol.
Professional Tools
- 100/180 grit nail files for shaping
- Buffer blocks for smoothing ridges
- Cuticle pusher and nippers
- 70% isopropyl alcohol for cleaning
- Lint-free wipes
- Cuticle oil for aftercare
Step-by-Step Application Process
Nail Preparation (The Foundation of Long-Lasting Wear)
Proper prep work determines whether your manicure lasts three days or three weeks. Start with clean, completely oil-free nails—any residue will prevent proper adhesion.
- Shape and File: File nails in one direction to prevent splitting. Square or squoval shapes tend to be strongest.
- Cuticle Care: Gently push back cuticles and remove any hangnails. Avoid cutting living tissue unless you’re trained to do so safely.
- Surface Preparation: Lightly buff the nail surface to remove shine and create microscopic grooves for better adhesion.
- Final Cleanse: Wipe nails with isopropyl alcohol to remove oils and debris.
Application Technique
Base Coat Application: Apply a thin, even layer covering the entire nail surface but avoiding the cuticle area. Cure for the recommended time.
Color Application: Here’s where technique matters most. Apply gel polish in thin coats—thick applications often result in uneven curing, bubbles, and premature lifting. Most colors need 2-3 thin coats for full opacity.
Pro tip: Cap the free edge (paint across the nail tip) with each coat to prevent chipping.
Top Coat Sealing: Apply top coat carefully, ensuring complete coverage. This layer determines your manicure’s final appearance and durability.
Curing Best Practices
- Position your hand so nails are flat and evenly spaced under the lamp
- Don’t move your fingers during the curing cycle
- If using a lamp with removable bottom, cure thumbs separately
- Allow each layer to cure completely before applying the next
Maximizing Wear Time and Performance
The difference between a good gel manicure and a great one often comes down to these advanced techniques:
Temperature Considerations
Room temperature affects gel viscosity. If your polish seems thick, warm the bottle in your hands for 30 seconds before application. Cold gel polish doesn’t level properly and can create uneven coverage.
Avoiding Common Mistakes
Oil Contamination: Even trace amounts of hand cream or cuticle oil can cause lifting. Always clean nails immediately before application.
Thick Applications: Multiple thin coats always outperform single thick ones. Thick gel can’t cure properly in the center, leading to soft spots that dent easily.
Cuticle Contact: Getting gel polish on the cuticle creates a pathway for water to seep underneath, causing lifting and potential infection.
Design Possibilities and Creative Techniques
One of the biggest advantages of doing gel nails at home is the creative freedom it provides. Unlike salon visits where you’re limited by time and the technician’s skill level, home application lets you experiment freely.
Color Combinations
- Gradient effects using sponge blending
- French manicure variations with different tip colors
- Geometric patterns using striping tape
- Marble effects with multiple colors and a fine brush
Texture Play
Many gel polish brands offer specialty finishes:
- Matte top coats for sophisticated looks
- Glitter polishes that won’t chip or fade
- Cat-eye gels that create magnetic patterns
- Temperature-changing formulas for interactive nails
Maintenance and Removal
Extending Manicure Life
Even the best gel manicure needs proper care:
- Wear gloves when cleaning or doing dishes
- Apply cuticle oil daily to prevent lifting at the nail bed
- Use your knuckles instead of nails for opening cans or scratching
- Reapply top coat weekly to maintain shine and protection
Safe Removal Process
Never peel or pick at gel polish—this damages the nail plate. Proper removal takes time but preserves nail health:
- File off the top coat to break the seal
- Soak cotton balls in acetone and place on each nail
- Wrap fingertips in aluminum foil
- Wait 10-15 minutes for the gel to soften
- Gently push off the softened gel with a cuticle pusher
- Buff away any remaining residue
- Moisturize thoroughly with cuticle oil and hand cream
Cost Analysis: Home vs. Salon
The financial benefits of home gel manicures are substantial. Here’s a realistic breakdown based on my five years of experience:
Initial Investment:
- UV lamp: R500-1000
- Gel polish starter kit (base, top, 3 colors): R600-1200
- Tools and supplies: R300-600
- Total startup cost: R1500-2760
Ongoing Costs:
- New gel colors: R70-150 each
- Replacement base/top coats: R120-200 every 6 months
- Monthly supply costs: approximately R70-250
Salon Comparison:
- Professional gel manicure: R600-1000 per visit
- Recommended frequency: every 2-3 weeks
- Annual salon cost: R2000-4000
Even with generous estimates for home supplies, you’ll save hundreds of dollars annually while gaining the convenience of perfect nails whenever you want them.
Health and Safety Considerations
UV Exposure Concerns
Some people worry about UV exposure from nail lamps. Research shows that the amount of UV radiation from a 10-minute nail session is equivalent to 1-2 minutes of natural sunlight. For a detailed analysis of nail lamp safety, read our comprehensive guide on is UV light safe for nails. To minimize any risk:
- Apply broad-spectrum sunscreen to your hands 20 minutes before your manicure
- Consider fingerless UV-protective gloves designed for nail work
- Limit manicure frequency if you have photosensitive conditions
Nail Health Maintenance
Continuous gel polish wear can lead to nail dehydration and thinning. Prevent damage by:
- Taking breaks between manicures every 2-3 months
- Using strengthening treatments during break periods
- Keeping cuticles moisturized to maintain nail bed health
- Watching for signs of allergic reactions or sensitivity
Troubleshooting Common Issues
Lifting and Chipping
Usually caused by inadequate nail prep, oil contamination, or applying gel too close to the cuticle. Review your preparation process and ensure thorough dehydration before application. For more detailed troubleshooting, check out our article on the top 5 mistakes when using a UV nail lamp.
Uneven Coverage
Often results from rushing the application or using polish that’s too thick. Take your time with thin, even coats, and warm cold polish before use.
Dull Finish
May indicate under-curing or using an incompatible base/top coat combination. Ensure proper cure times and stick to recommended product systems.
Bubble Formation
Typically caused by shaking the polish bottle or applying coats too thickly. Roll the bottle between your palms instead of shaking, and build color gradually.
Advanced Techniques for Professional Results
Nail Art Integration
Gel polish provides an excellent base for nail art because it cures to a tacky layer that helps decorative elements adhere. Popular techniques include:
- Hand-painted designs using gel paint
- Foil transfer applications
- 3D nail art with gel as an adhesive base
- Stamping with specialized gel-compatible plates
Color Matching and Seasonal Adaptation
Building a versatile gel polish collection requires strategic color selection. Focus on:
- Classic neutrals that work year-round
- Seasonal trendy shades for special occasions
- Complementary colors for gradient and nail art techniques
- Professional-appropriate options for work environments
Building Your Gel Nail Skills
Like any craft, gel nail application improves with practice. Start with simple, single-color manicures to master the basic techniques before attempting complex designs. Pay attention to how different products work together and take notes on timing and application methods that work best for your nails.
Consider joining online communities where gel nail enthusiasts share tips, troubleshoot problems, and showcase their work. The learning never stops, and there’s always a new technique or product to try.
Your nail care routine is an investment in both your appearance and your confidence. With proper technique, quality products, and a bit of practice, you can achieve salon-quality results that last for weeks while saving money and expressing your creativity. The key is starting with realistic expectations, focusing on proper technique over speed, and gradually building your skills and product collection.
Remember that every professional nail technician started as a beginner. Be patient with yourself as you learn, and don’t hesitate to experiment with new colors and techniques as your confidence grows. Your perfect gel manicure is just practice away.