Picture yourself in a bright, sunny salon. Every client who walks in expects a polished, professional look and you’ve got to deliver—without a single tool misplaced. That’s the daily reality of a nail technician in South Africa: keeping a clean, efficient studio so you can focus on making beautiful nails and happy customers.
Clear the Stage
Start by wiping down the entire table surface. A clean base is the secret to a tidy space. Grab a damp cloth, a small bucket of warm water, and a few drops of mild dish soap. Swirl it together, dip the cloth, wipe the table, then dry with a fresh towel. Skipping this step means everything else will look cluttered.
Separate by Function
- Cleaning Supplies – Scissors, tweezers, nail files, and buffers belong in one corner. Put them in a shallow plastic container that costs about R15. Label the container with a simple sticker saying “Cleaning.”
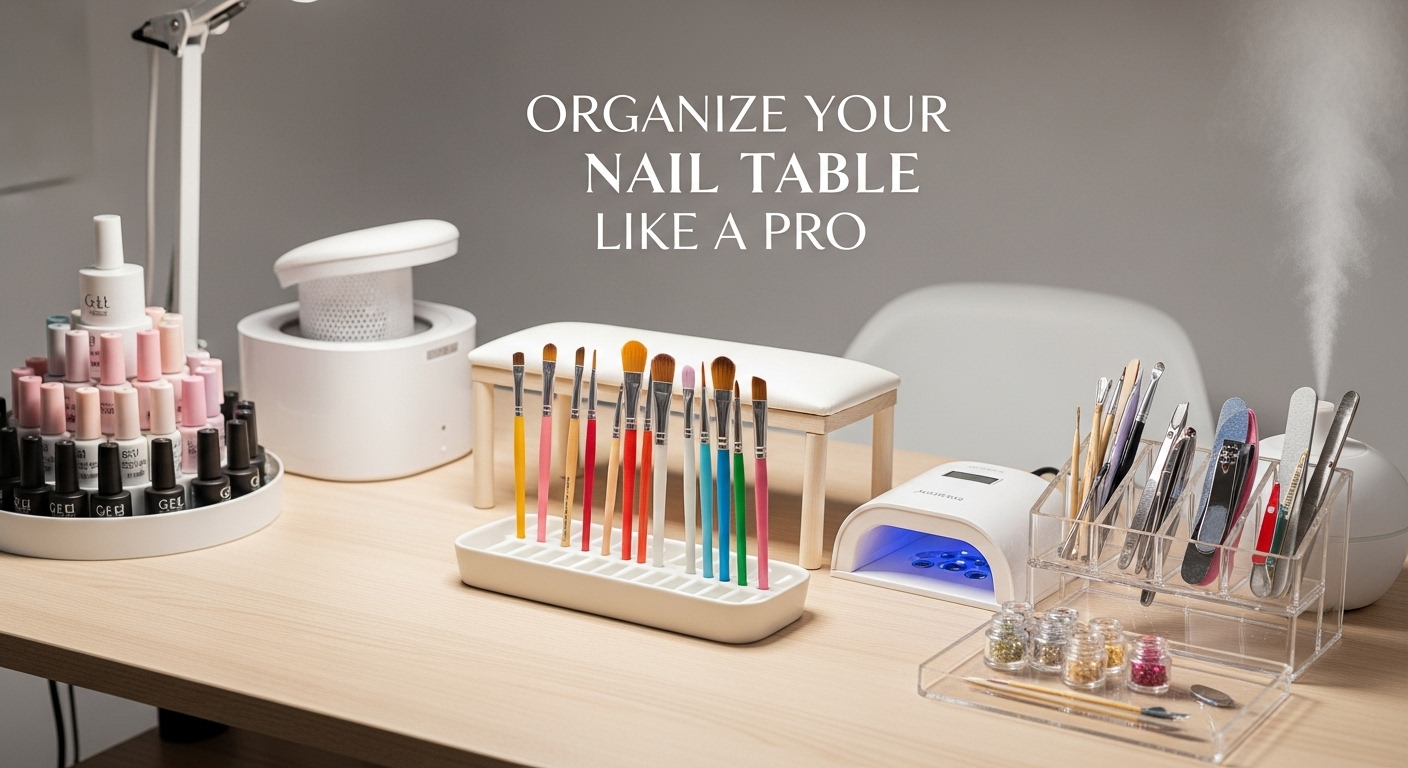
- Paint Set‑Up – A rack that slides underneath the table can hold your brushes, polish bottles, and base/top coats. A magnetic nail dispenser for brushes is R30. Keep brushes face‑down so the polish never dries.
- Nail Polish – Store all polish tubes in a dedicated drawer. Use a clear plastic divider, around R10, to keep the bottles neat. Add a small fan (around R200) so the polish doesn’t stick together when it’s hot.
- Tools & Accessories – An acrylic nail kit, fake nails, and nail art pens sit in a separate drawer. A lockable small drawer that holds all acrylic kits is only R45. This keeps sharp items out of reach of kids and clients.
Optimize the Space
- Vertical Storage – A set of small, stackable bins (around R25 each) can hold extra polish or acrylic supplies. Stack them on a shelf above the table so you can pull out what you need while you work.
- Below‑Table Holders – A set of 12‑slot trays (R40) fits under the table and keeps small items like nail file discs, cuticle clips, and silicone hand wipes tidy.
- Wall Hooks – A few cheap hook strips (R10 each) let you hang items such as gloves, masks, or a small mirror. Freeing up table space makes a big difference.
Keep a Routine
- Daily Clean‑Up – At the end of each shift, wipe the table again, sort any broken tools, and replace any used polish tubes with spare ones.
- Weekly Deep‑Clean – Every week, take a longer break to scrub the table, clean the drawers, and rotate stock so older polish doesn’t stay on the shelf too long.
Use Light and Visibility
Install a small LED strip (about R60) along the table’s edge. Soft, bright light helps you spot a misplaced file or a forgotten brush. Good lighting also gives clients confidence seeing the quality of your work.
Final Touches
- Personal Touch – A small vase with a fresh flower or a travel‑size essential oil diffuser (around R80) can create a welcoming vibe for clients.
- Signage – A laminated card that lists your services (e.g., “Classic Manicure – R80 ”) keeps your offers front‑and‑center and lets clients see what’s ready to go.
By investing in a few inexpensive organizers—plaster trays, magnetic holders, and plastic bins—you’ll spend far less time hunting for tools and more time delivering flawless nail art. A tidy table is a simple way to show clients that you’re organized, reliable, and ready for anything. Keep the surface clean, the tools grouped, and the workflow smooth; your clients will thank you, and your business will keep growing.